Make a puter with an old laptop!
Prepping the Inside
Here’s the laptop I had, an old sony vaio from 2007. The screen was smashed, so it ended up being great since the thing was a bit useless anyway.
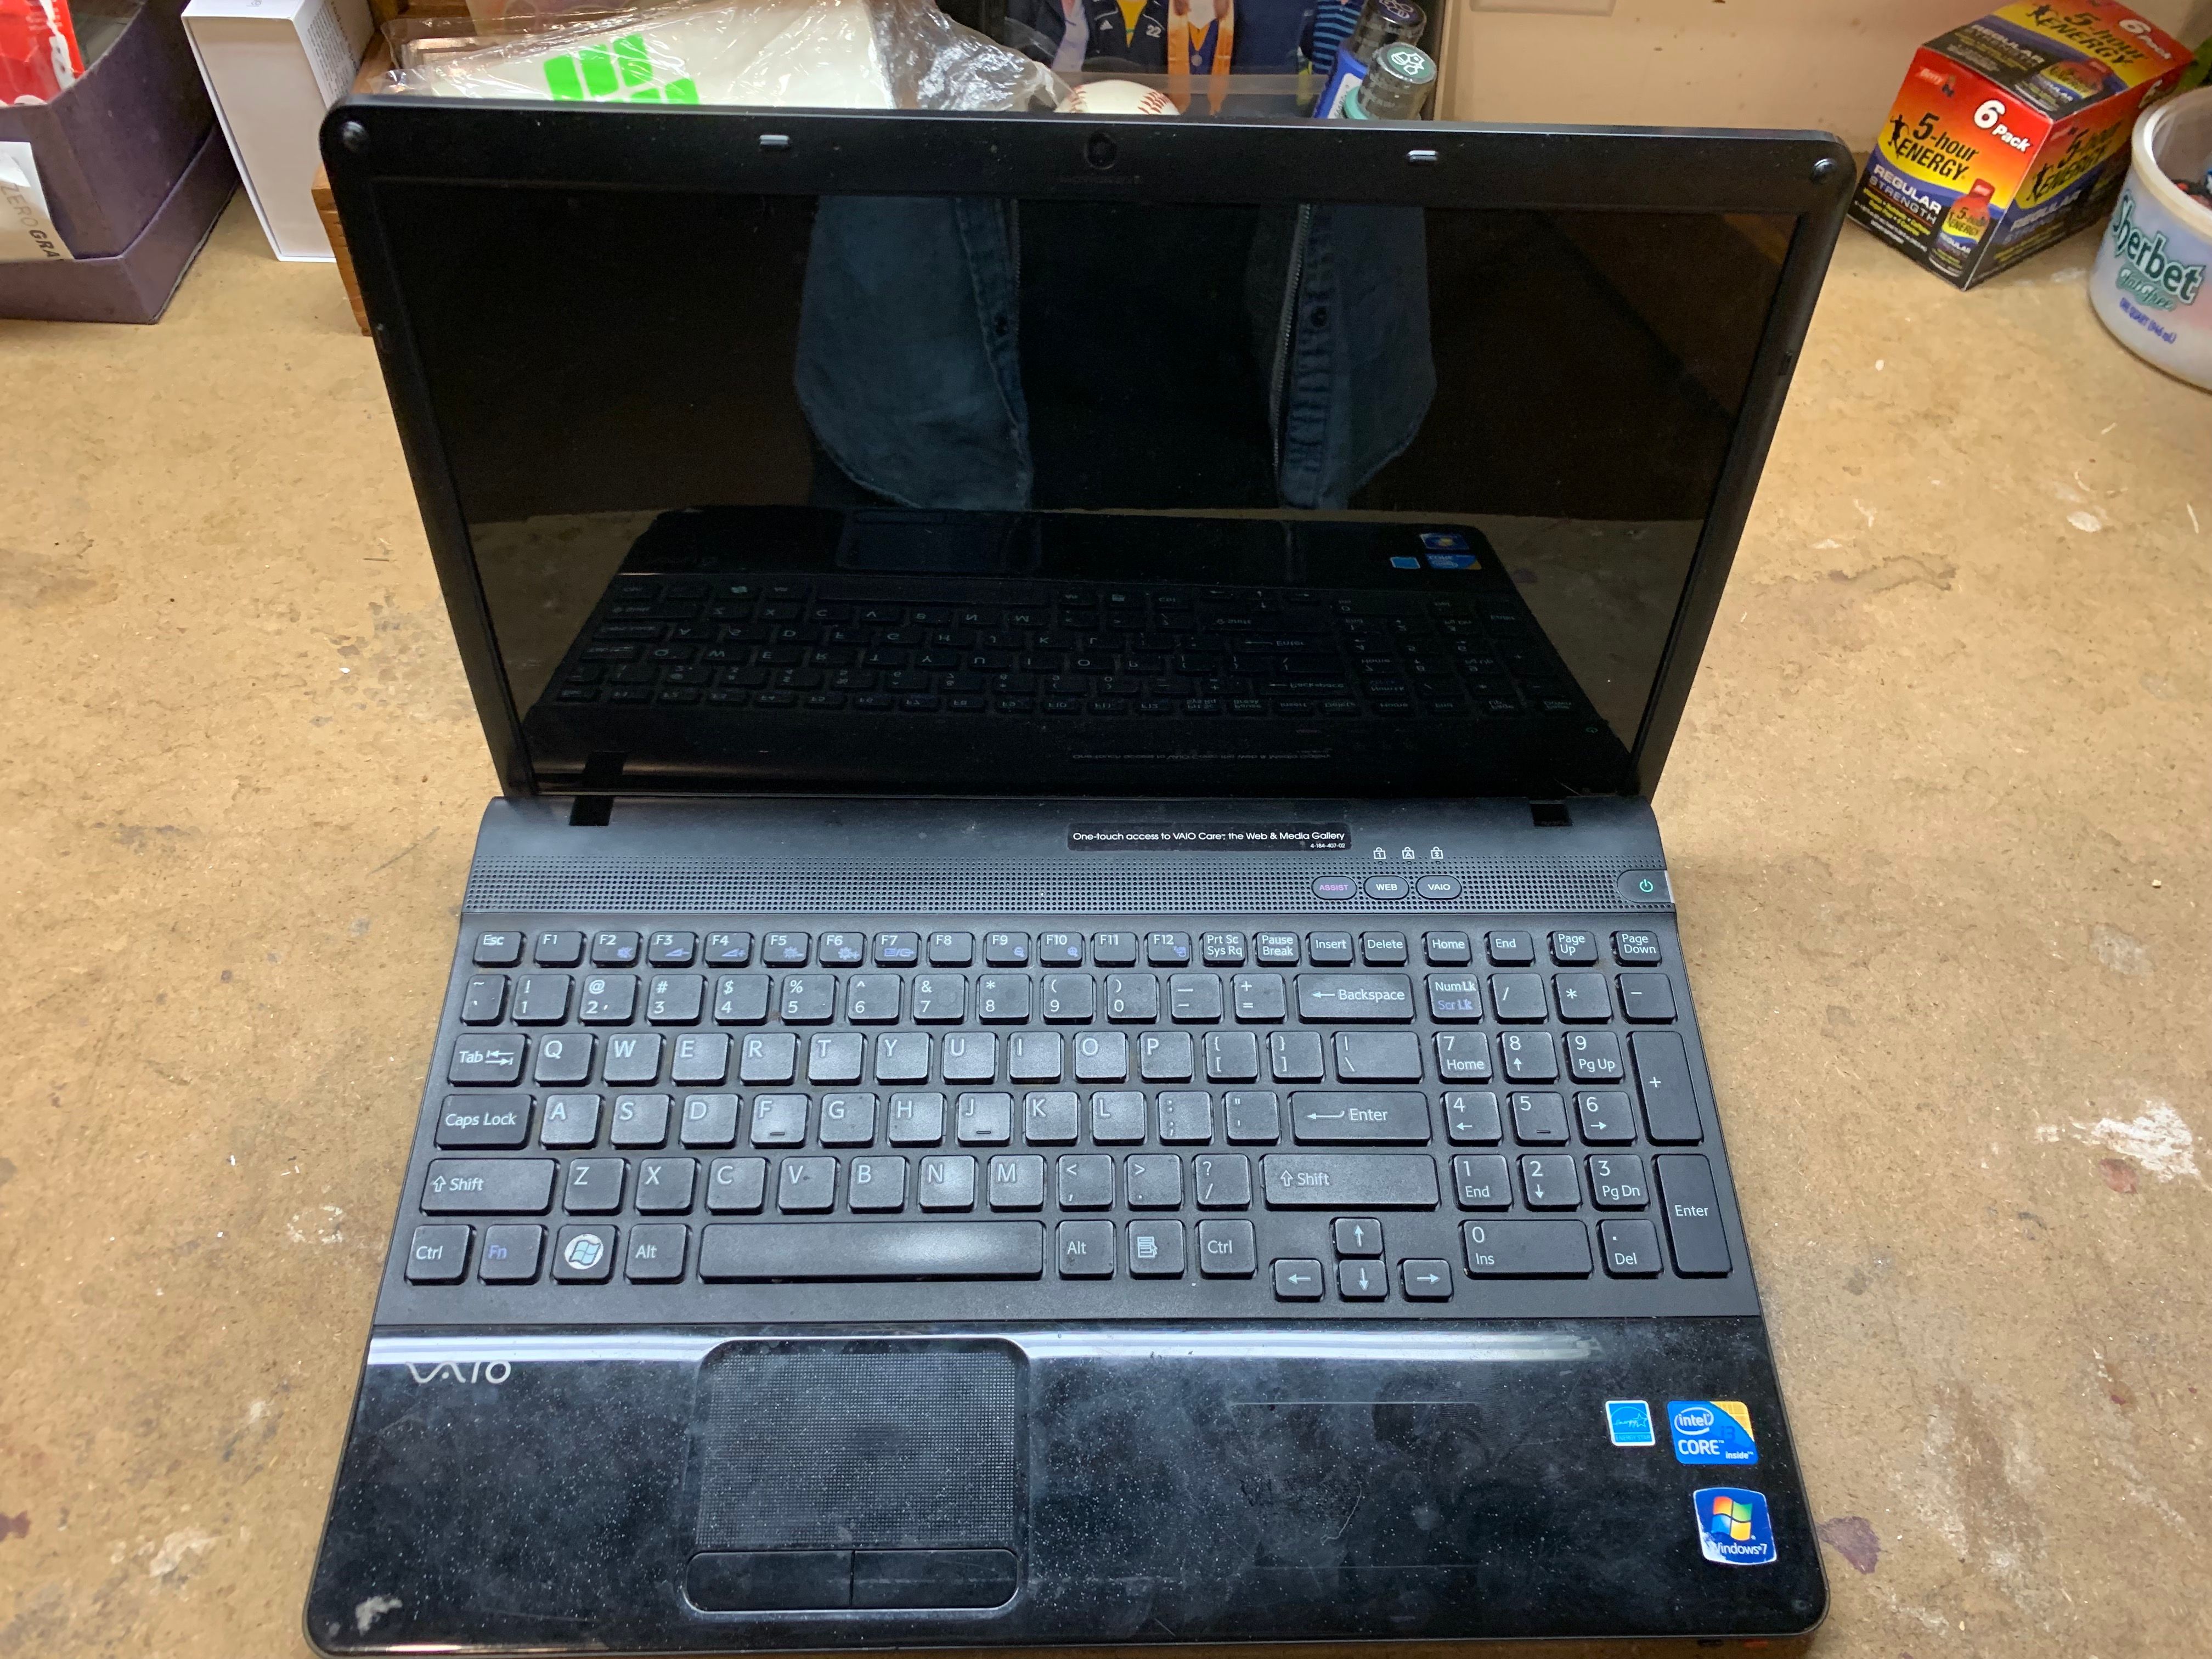
All I need are the brains of it, so lets open it up.
We wont be needing quite a bit of the computer parts that are in here, like the disk drive, the battery, and the keyboard. I already ripped the screen off, and we’ll also be getting rid of the case and compacting it into a much smaller package.
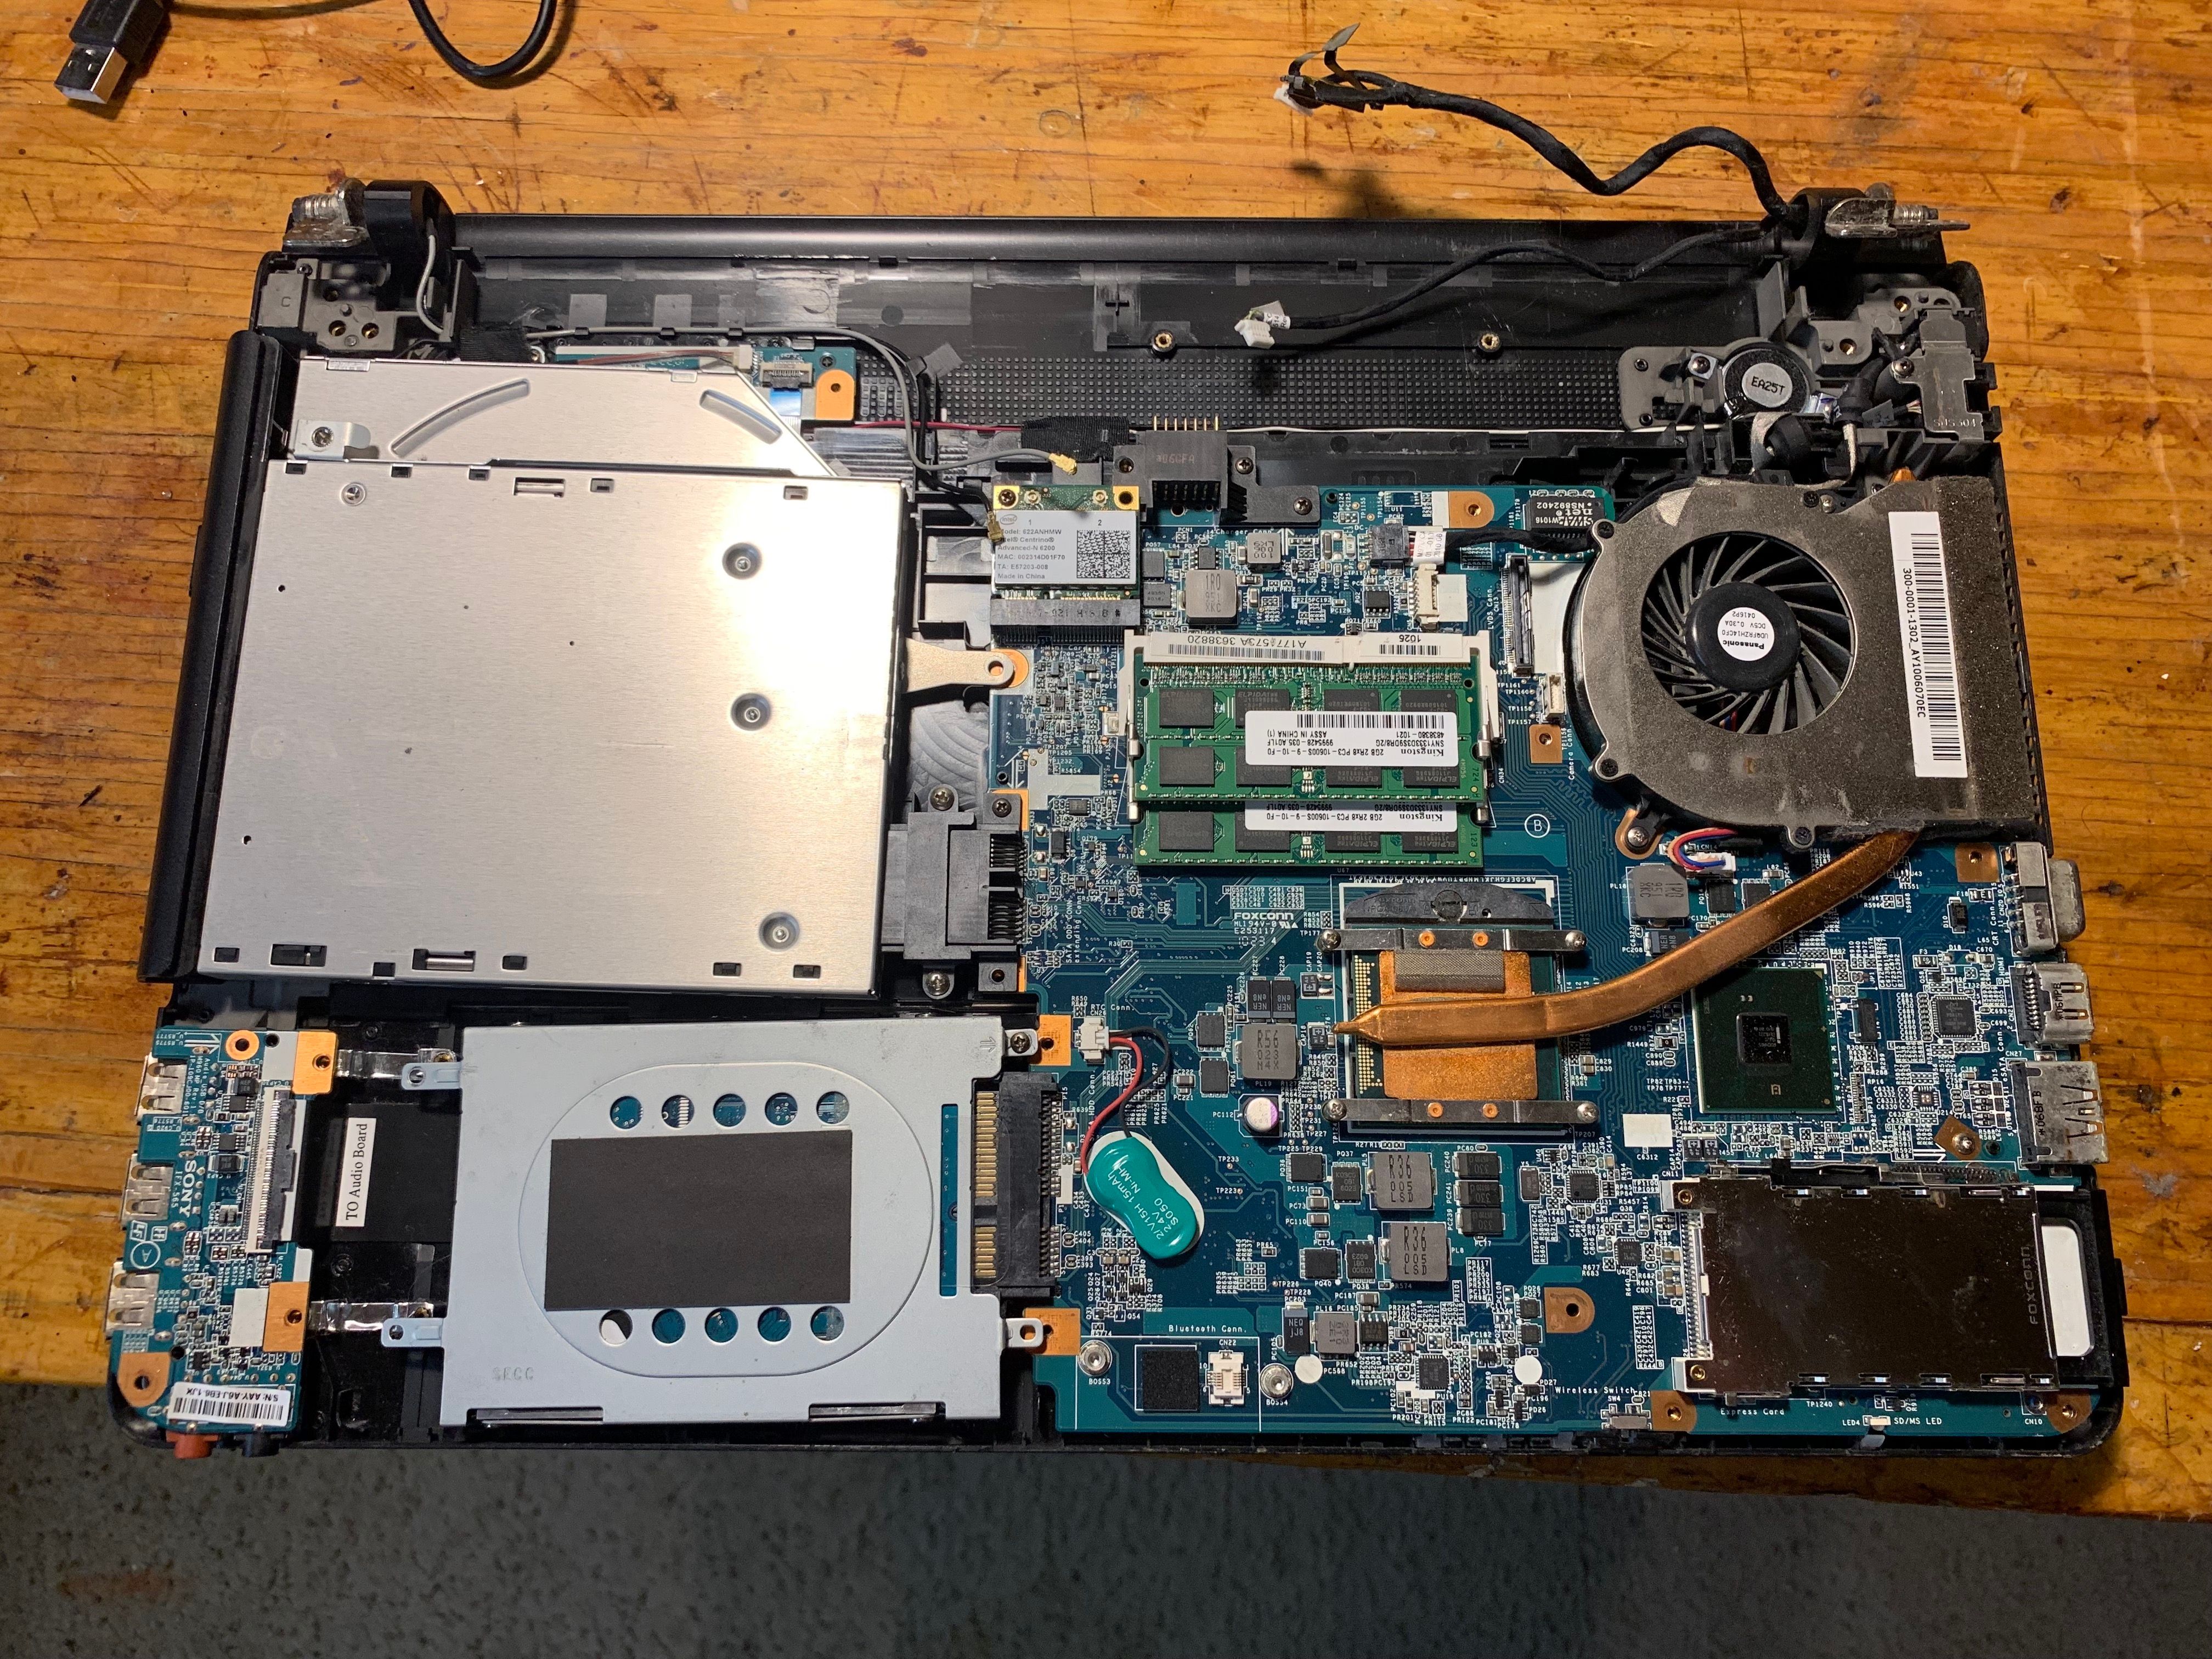
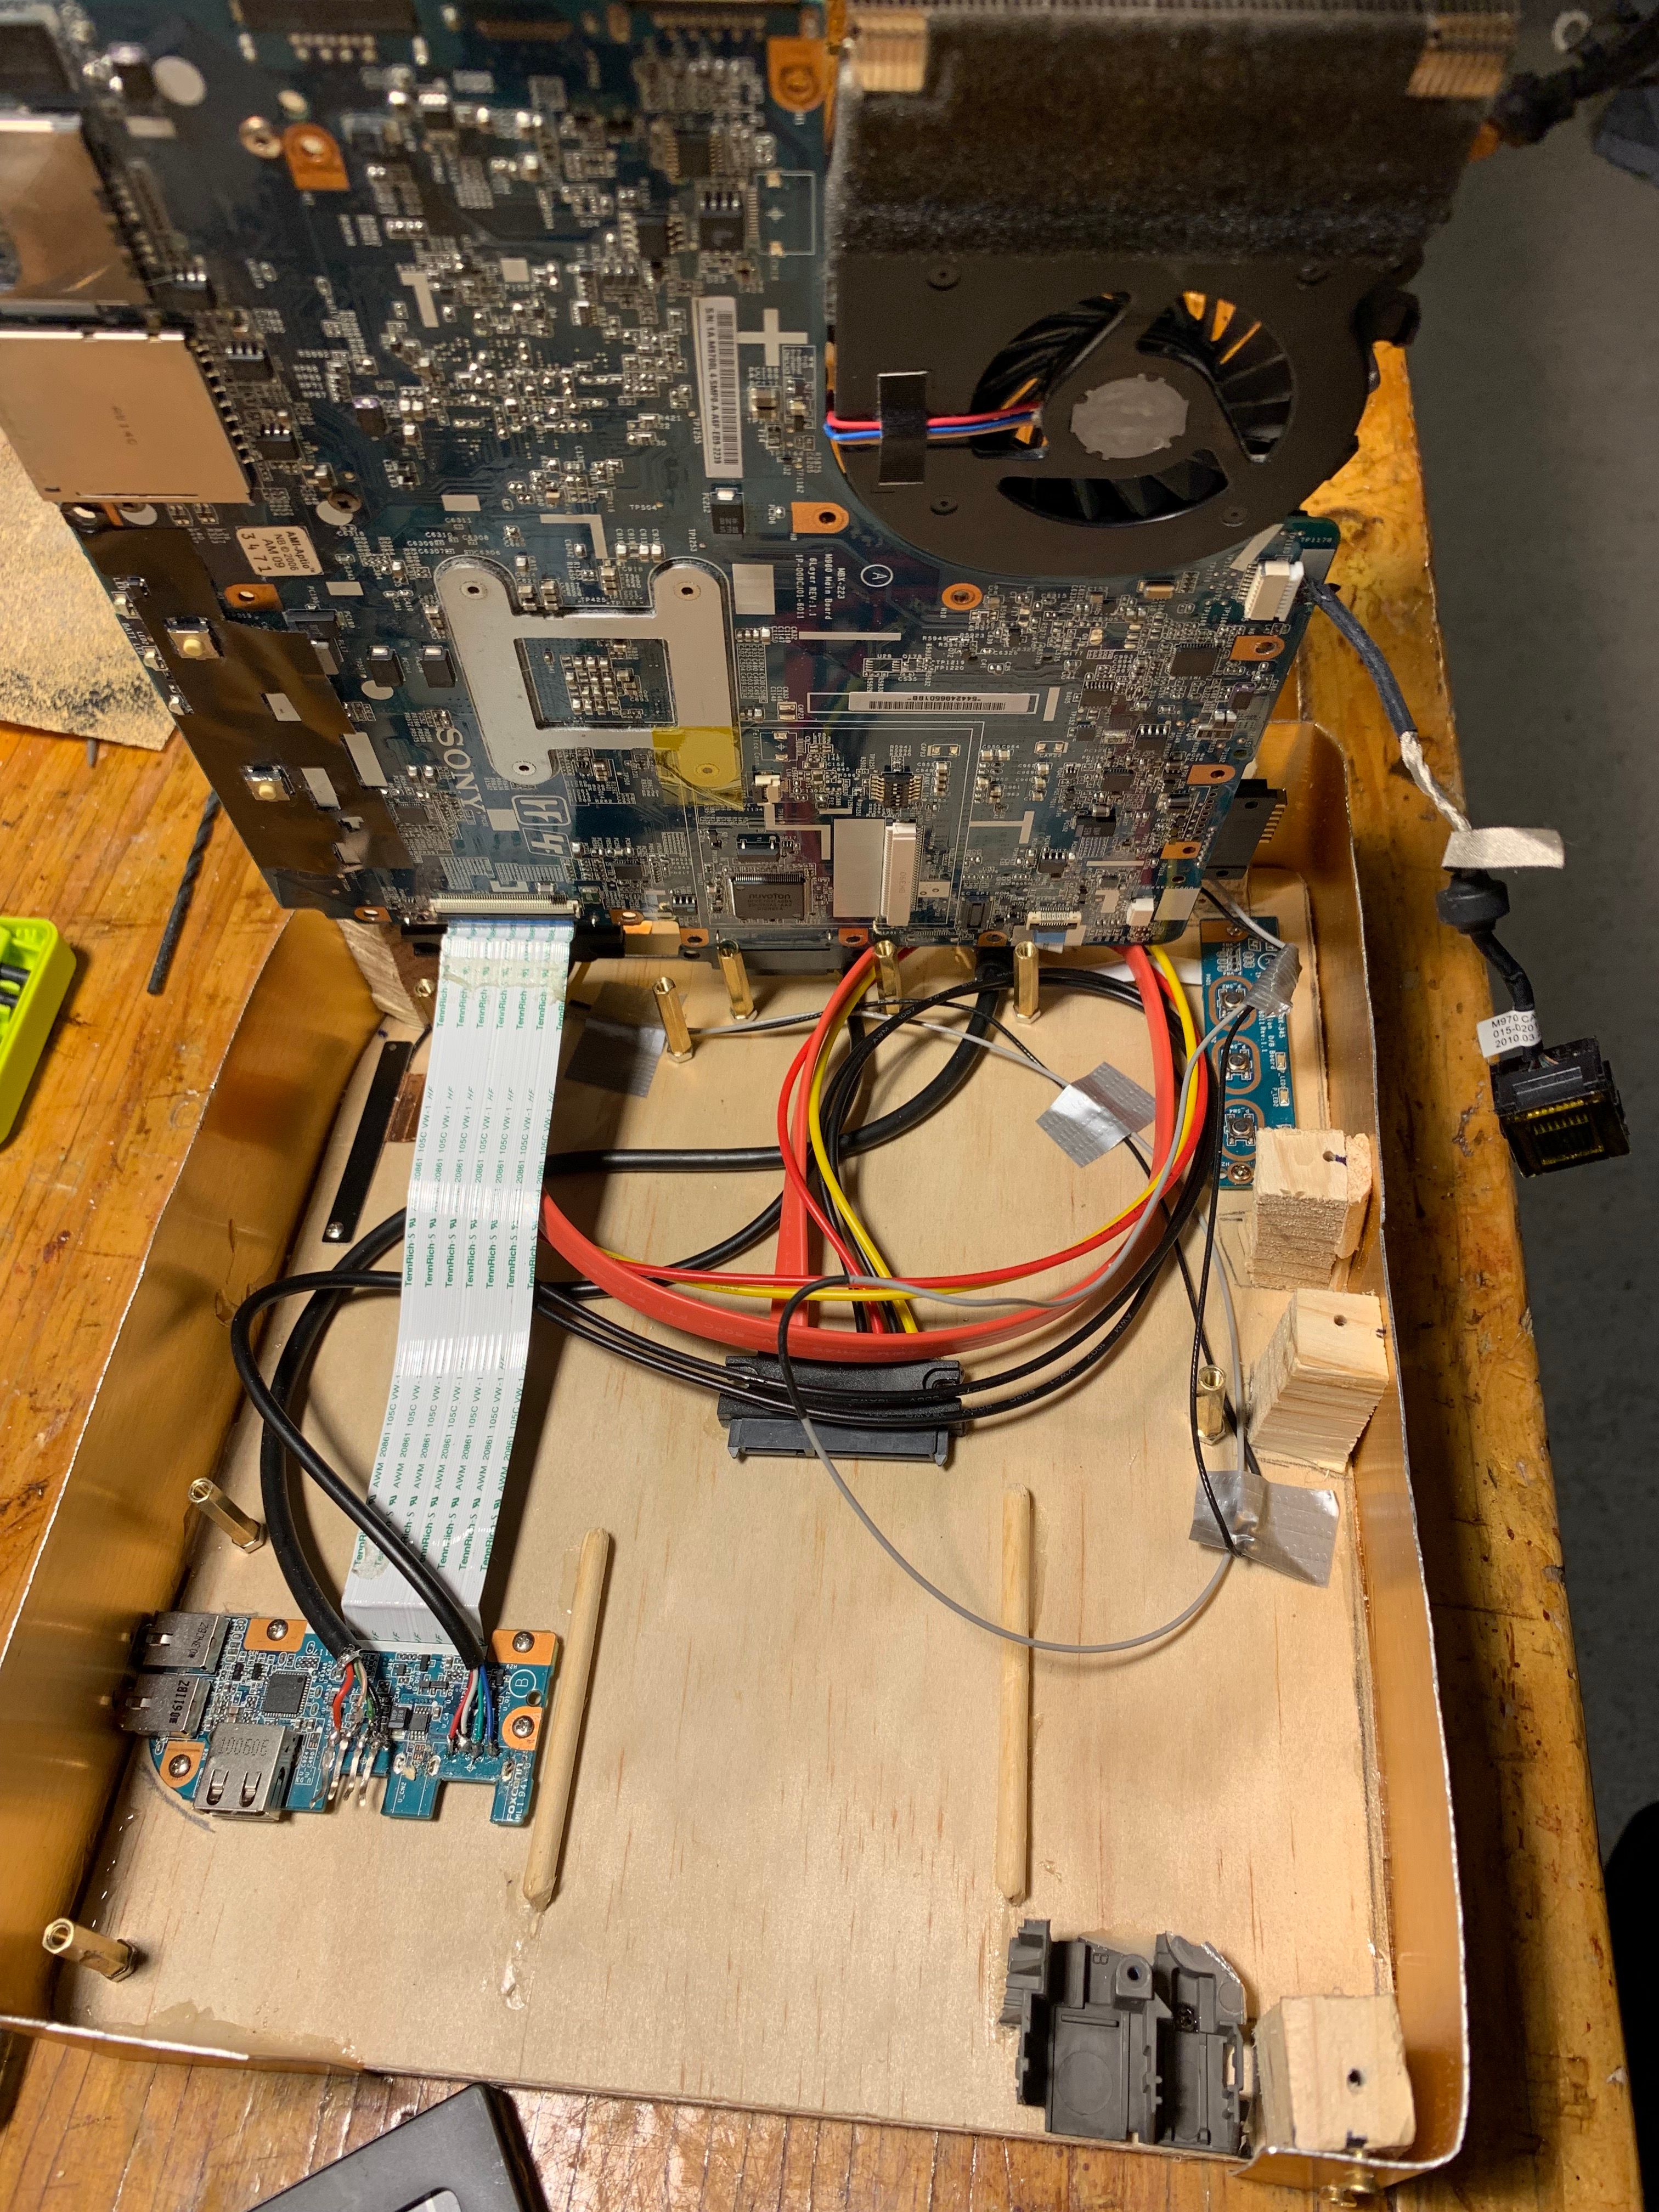
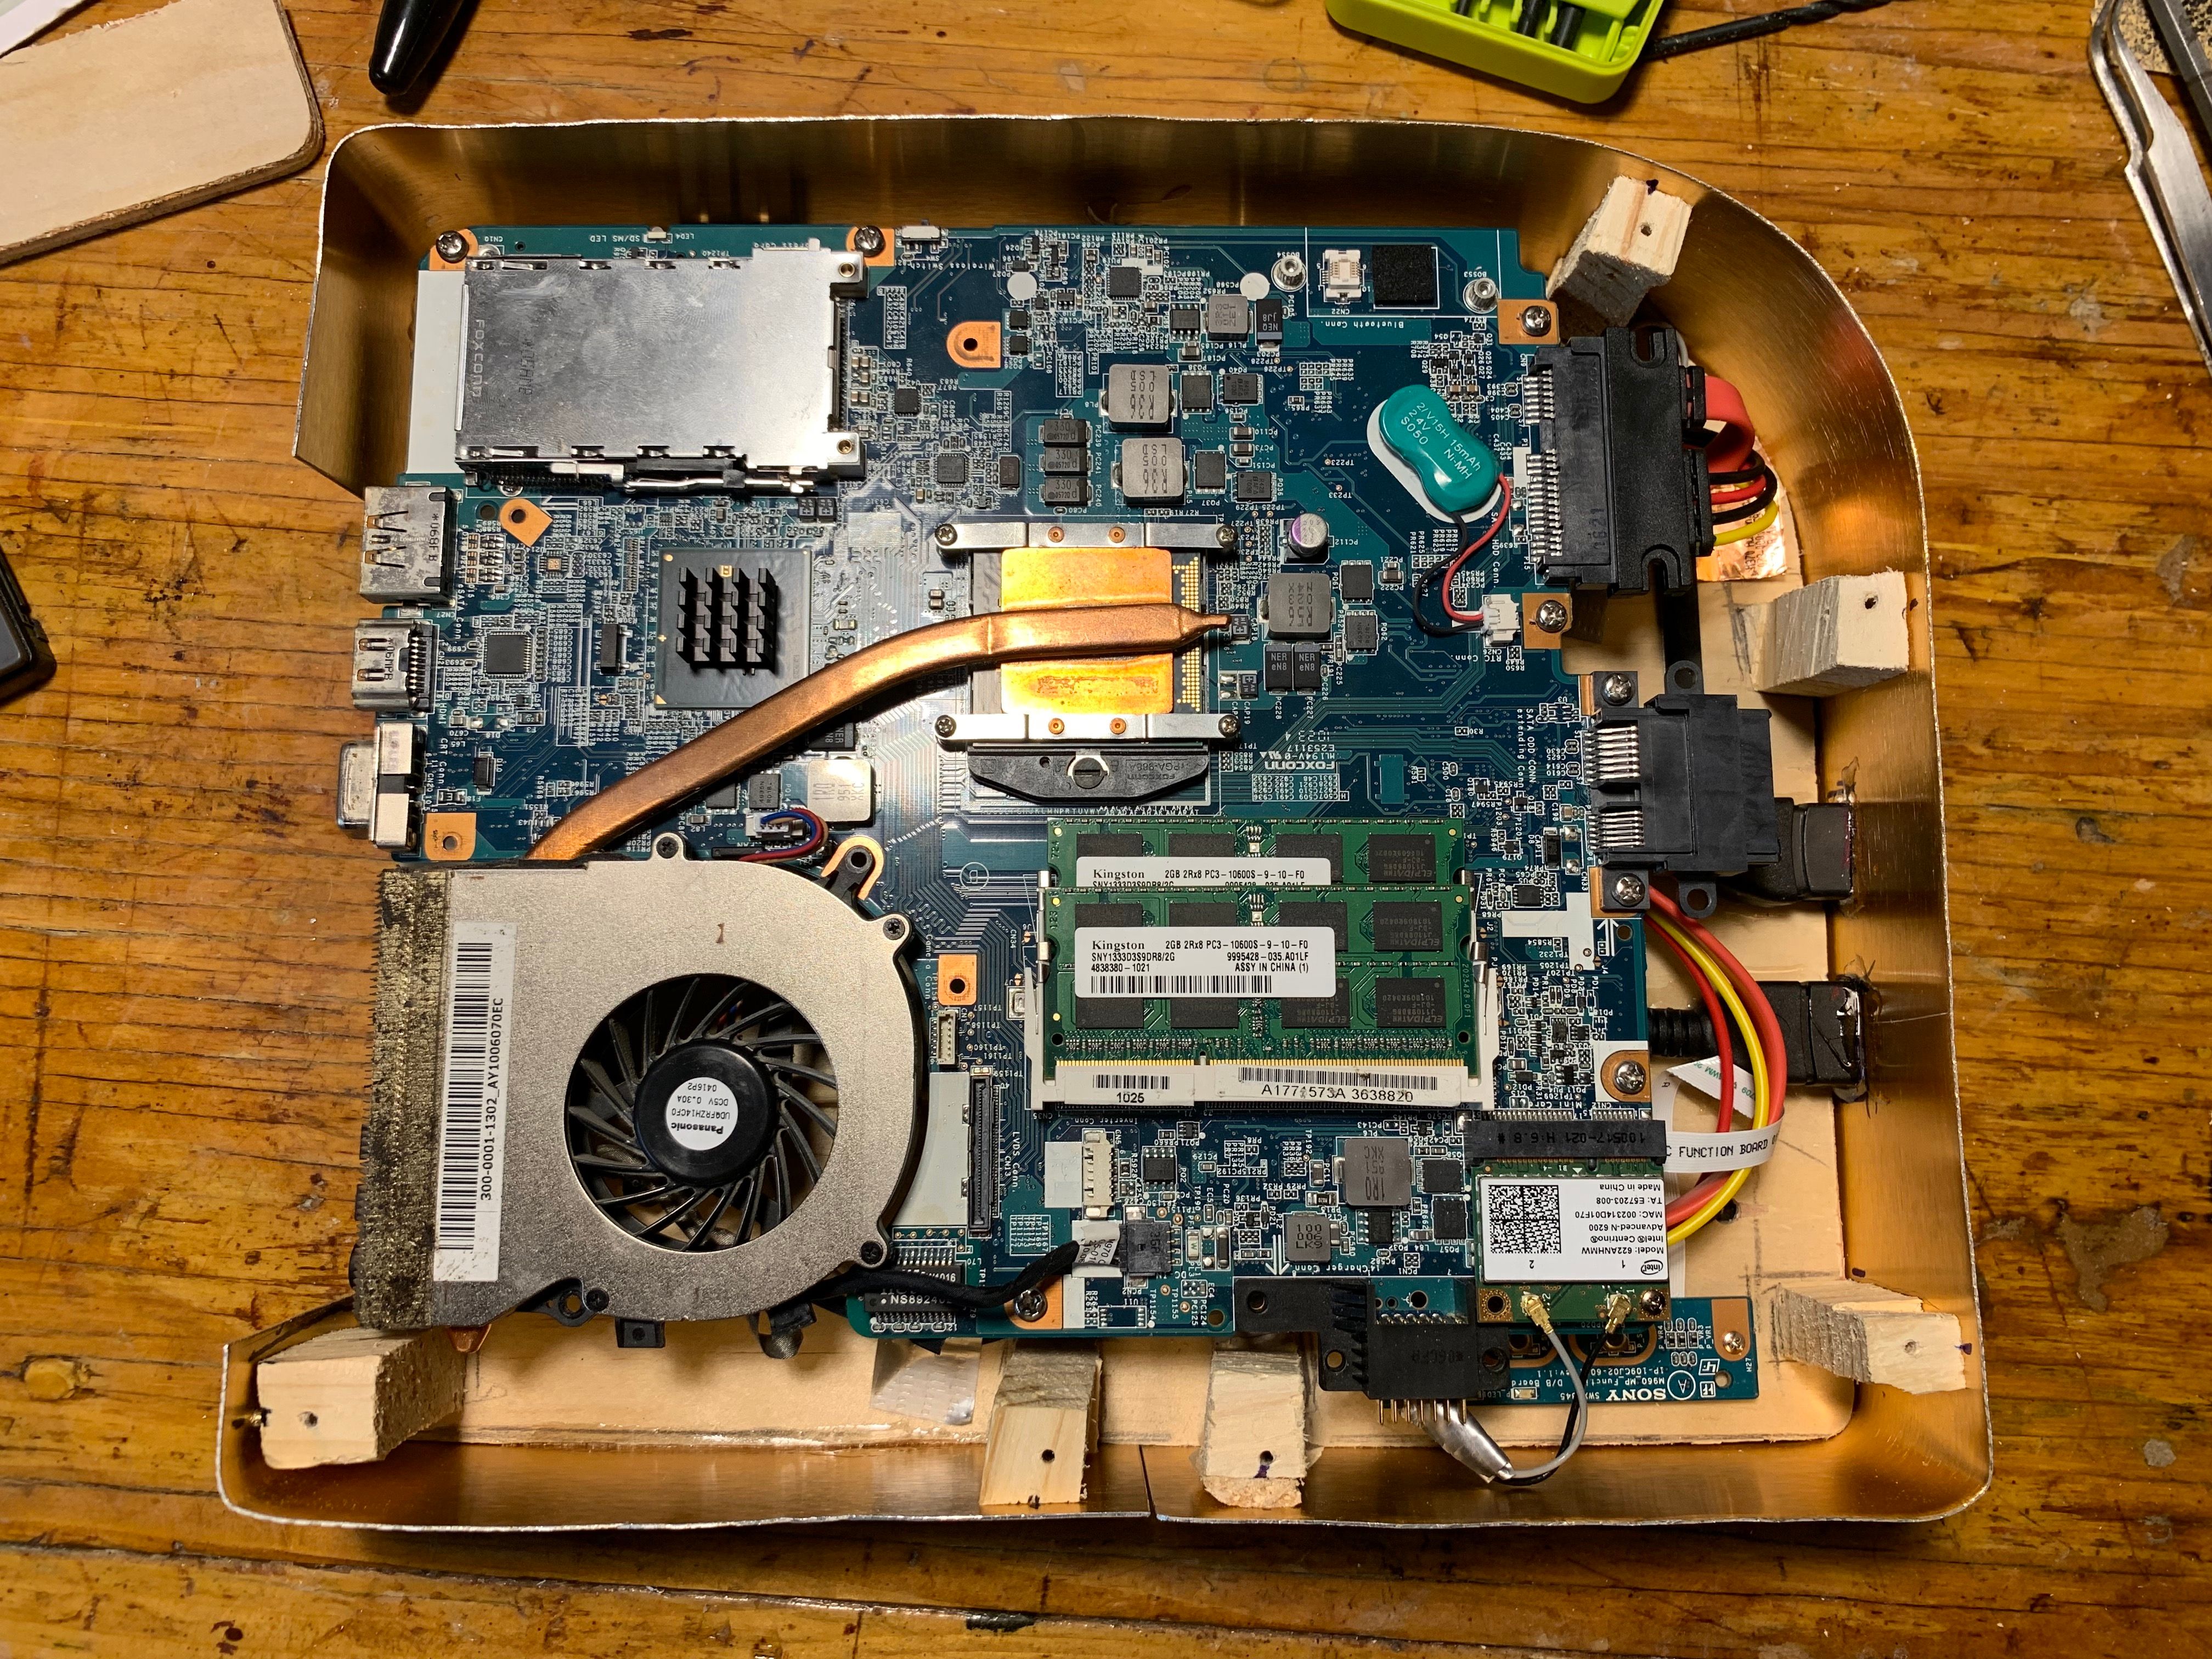
After a bunch of tinkering, the important bits were ripped out.
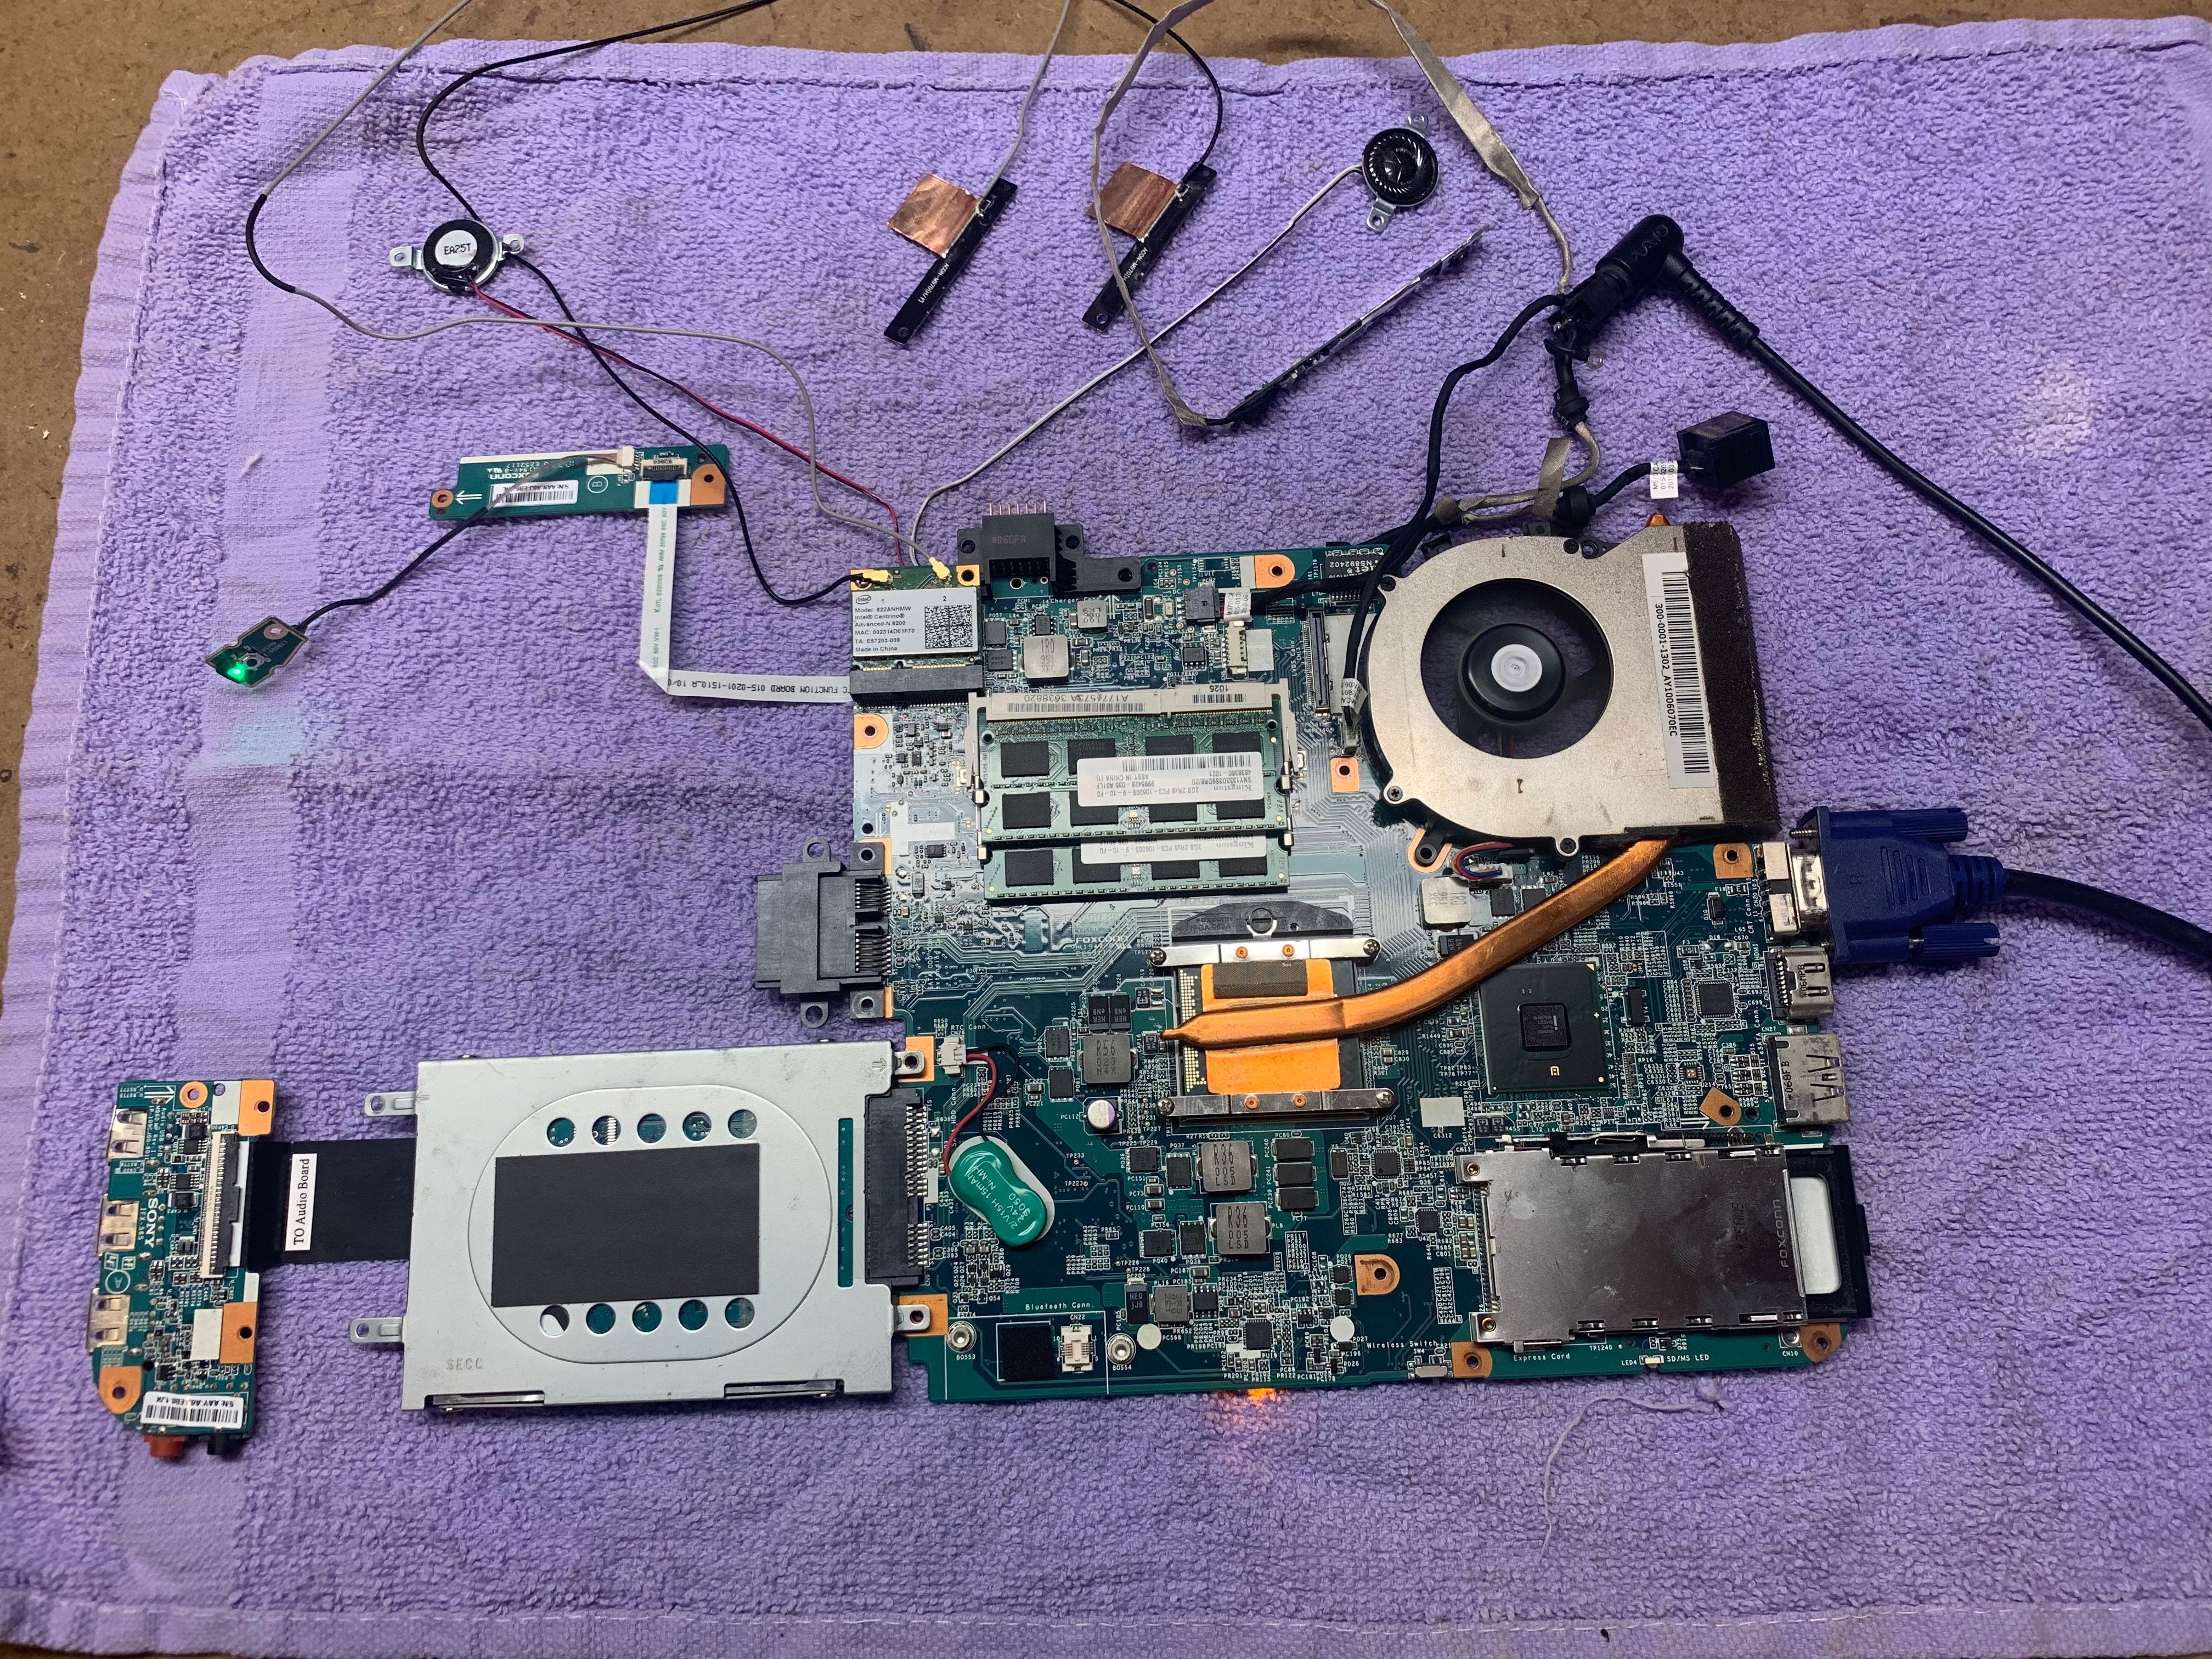
What are we looking at here? Well theres the main motherboard on the right. That does most puter things. The hard drive is the silver thing attached to the bottom of it, and to the left of that is a small secondary board that has the usb ports and audio card.
The thing sticking out from the top left (with the green light) is a very convoluted power switch, so need to keep that.
And above that are the random antennas and speakers. It even comes with a fan!
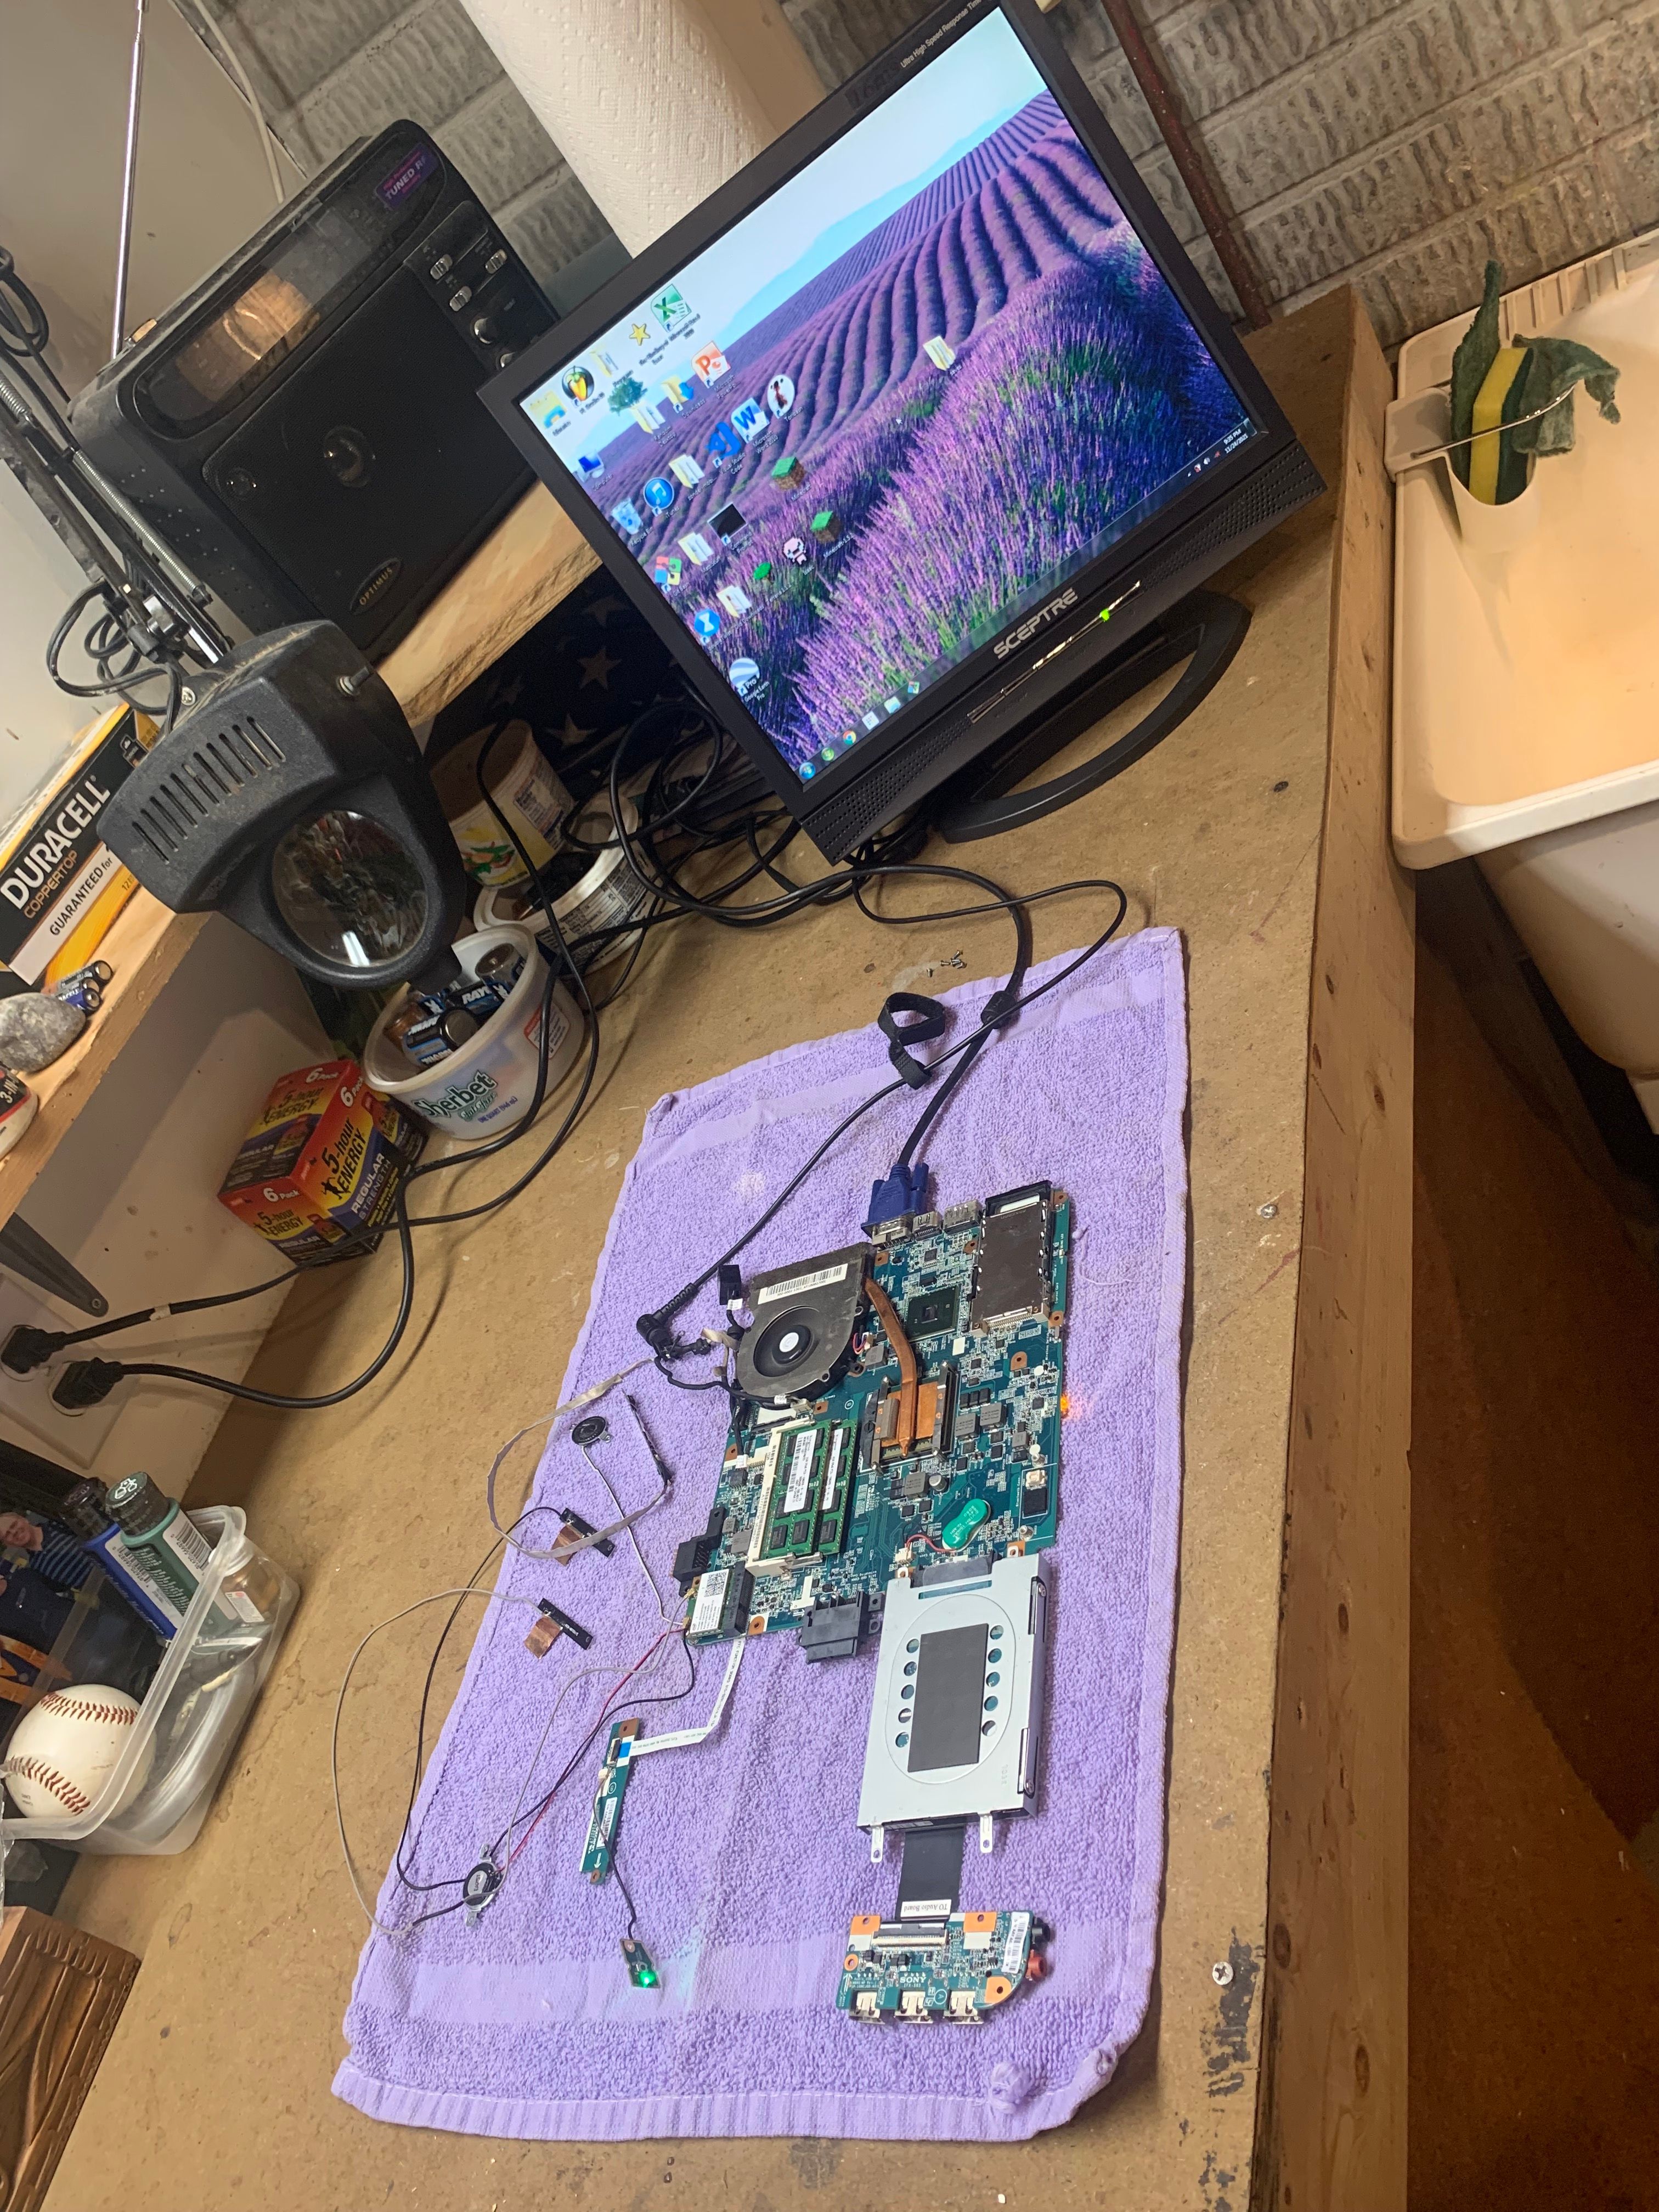
Surprisingly, just plugging this in actually still works
Software Note
I needed to replace the hard drive, the old one was barely usable.
However, sony stopped providing drivers for this system a while ago.
That means the only way to get it to work is by cloning the original harddrive, bit by bit, to the new SSD, and then carefully upgrading it to windows 10 without breaking anything
This process was very annoying, as the original HD was a bit corrupted and had to be repaired, and nothing ever goes like you expect with these things.
Building the Outside
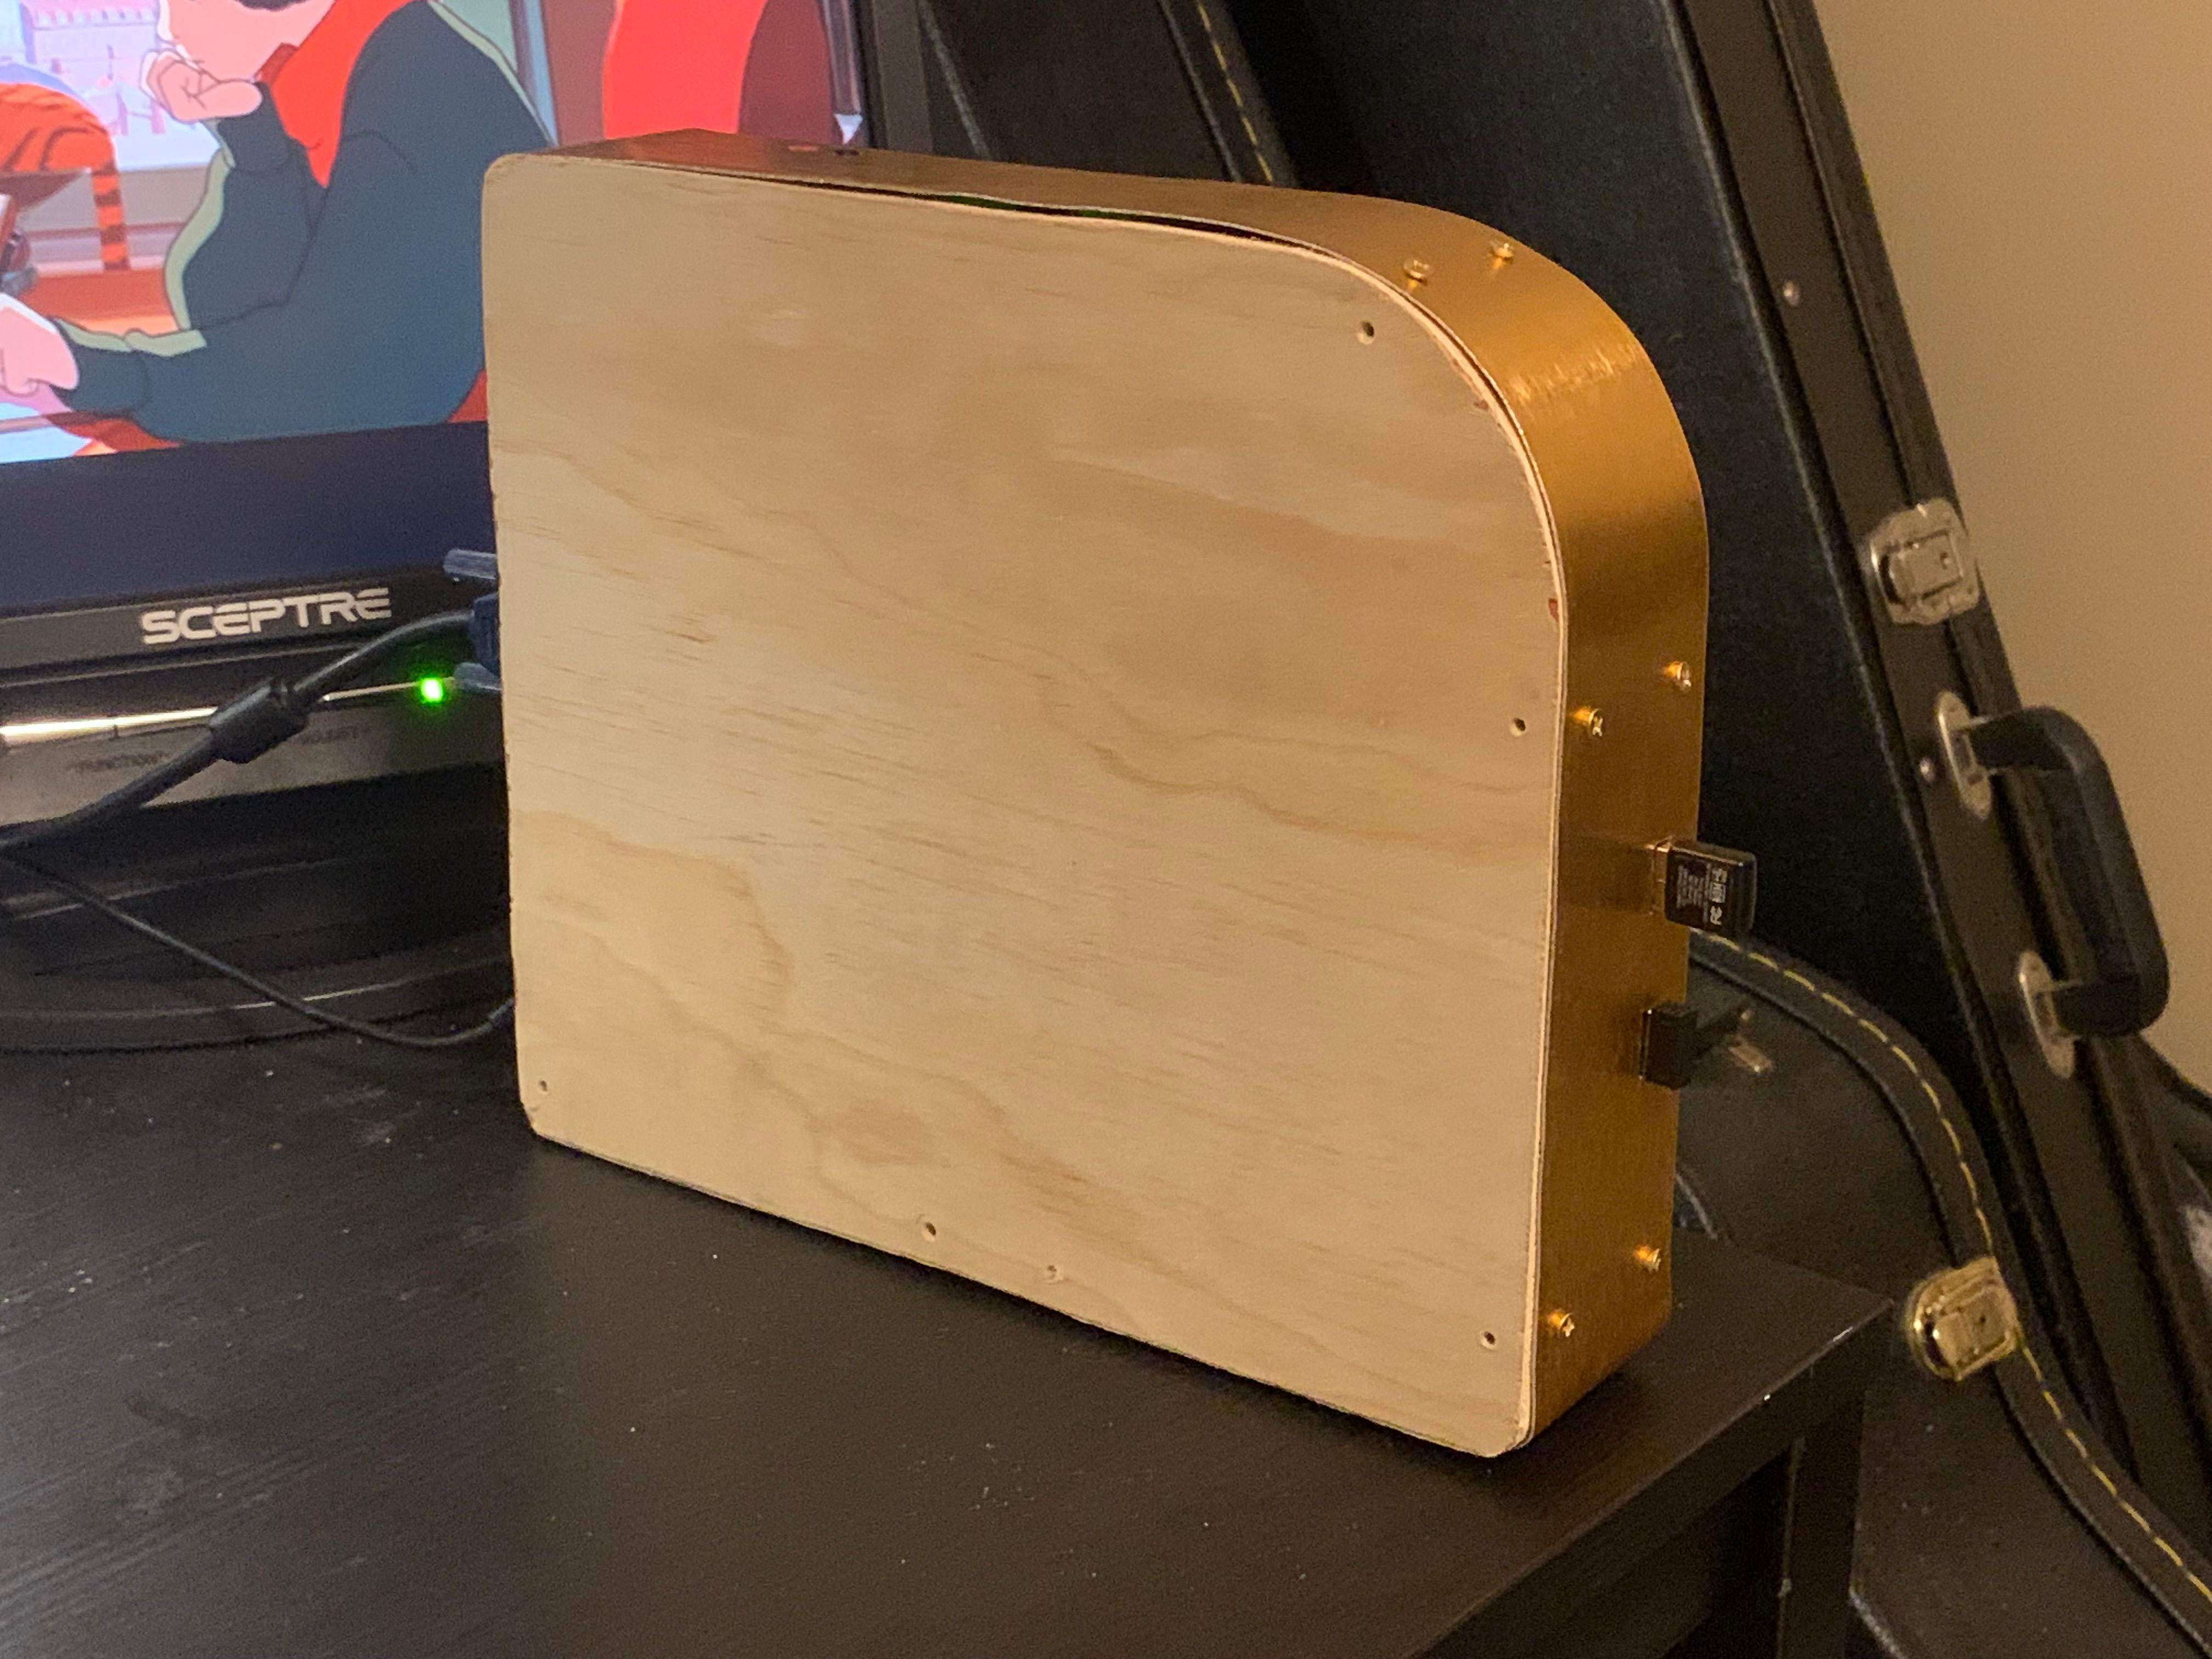
Now we need a new home for it. I decided to go with wood and copper.
The general idea was a wood sandwich, with a metal edge.
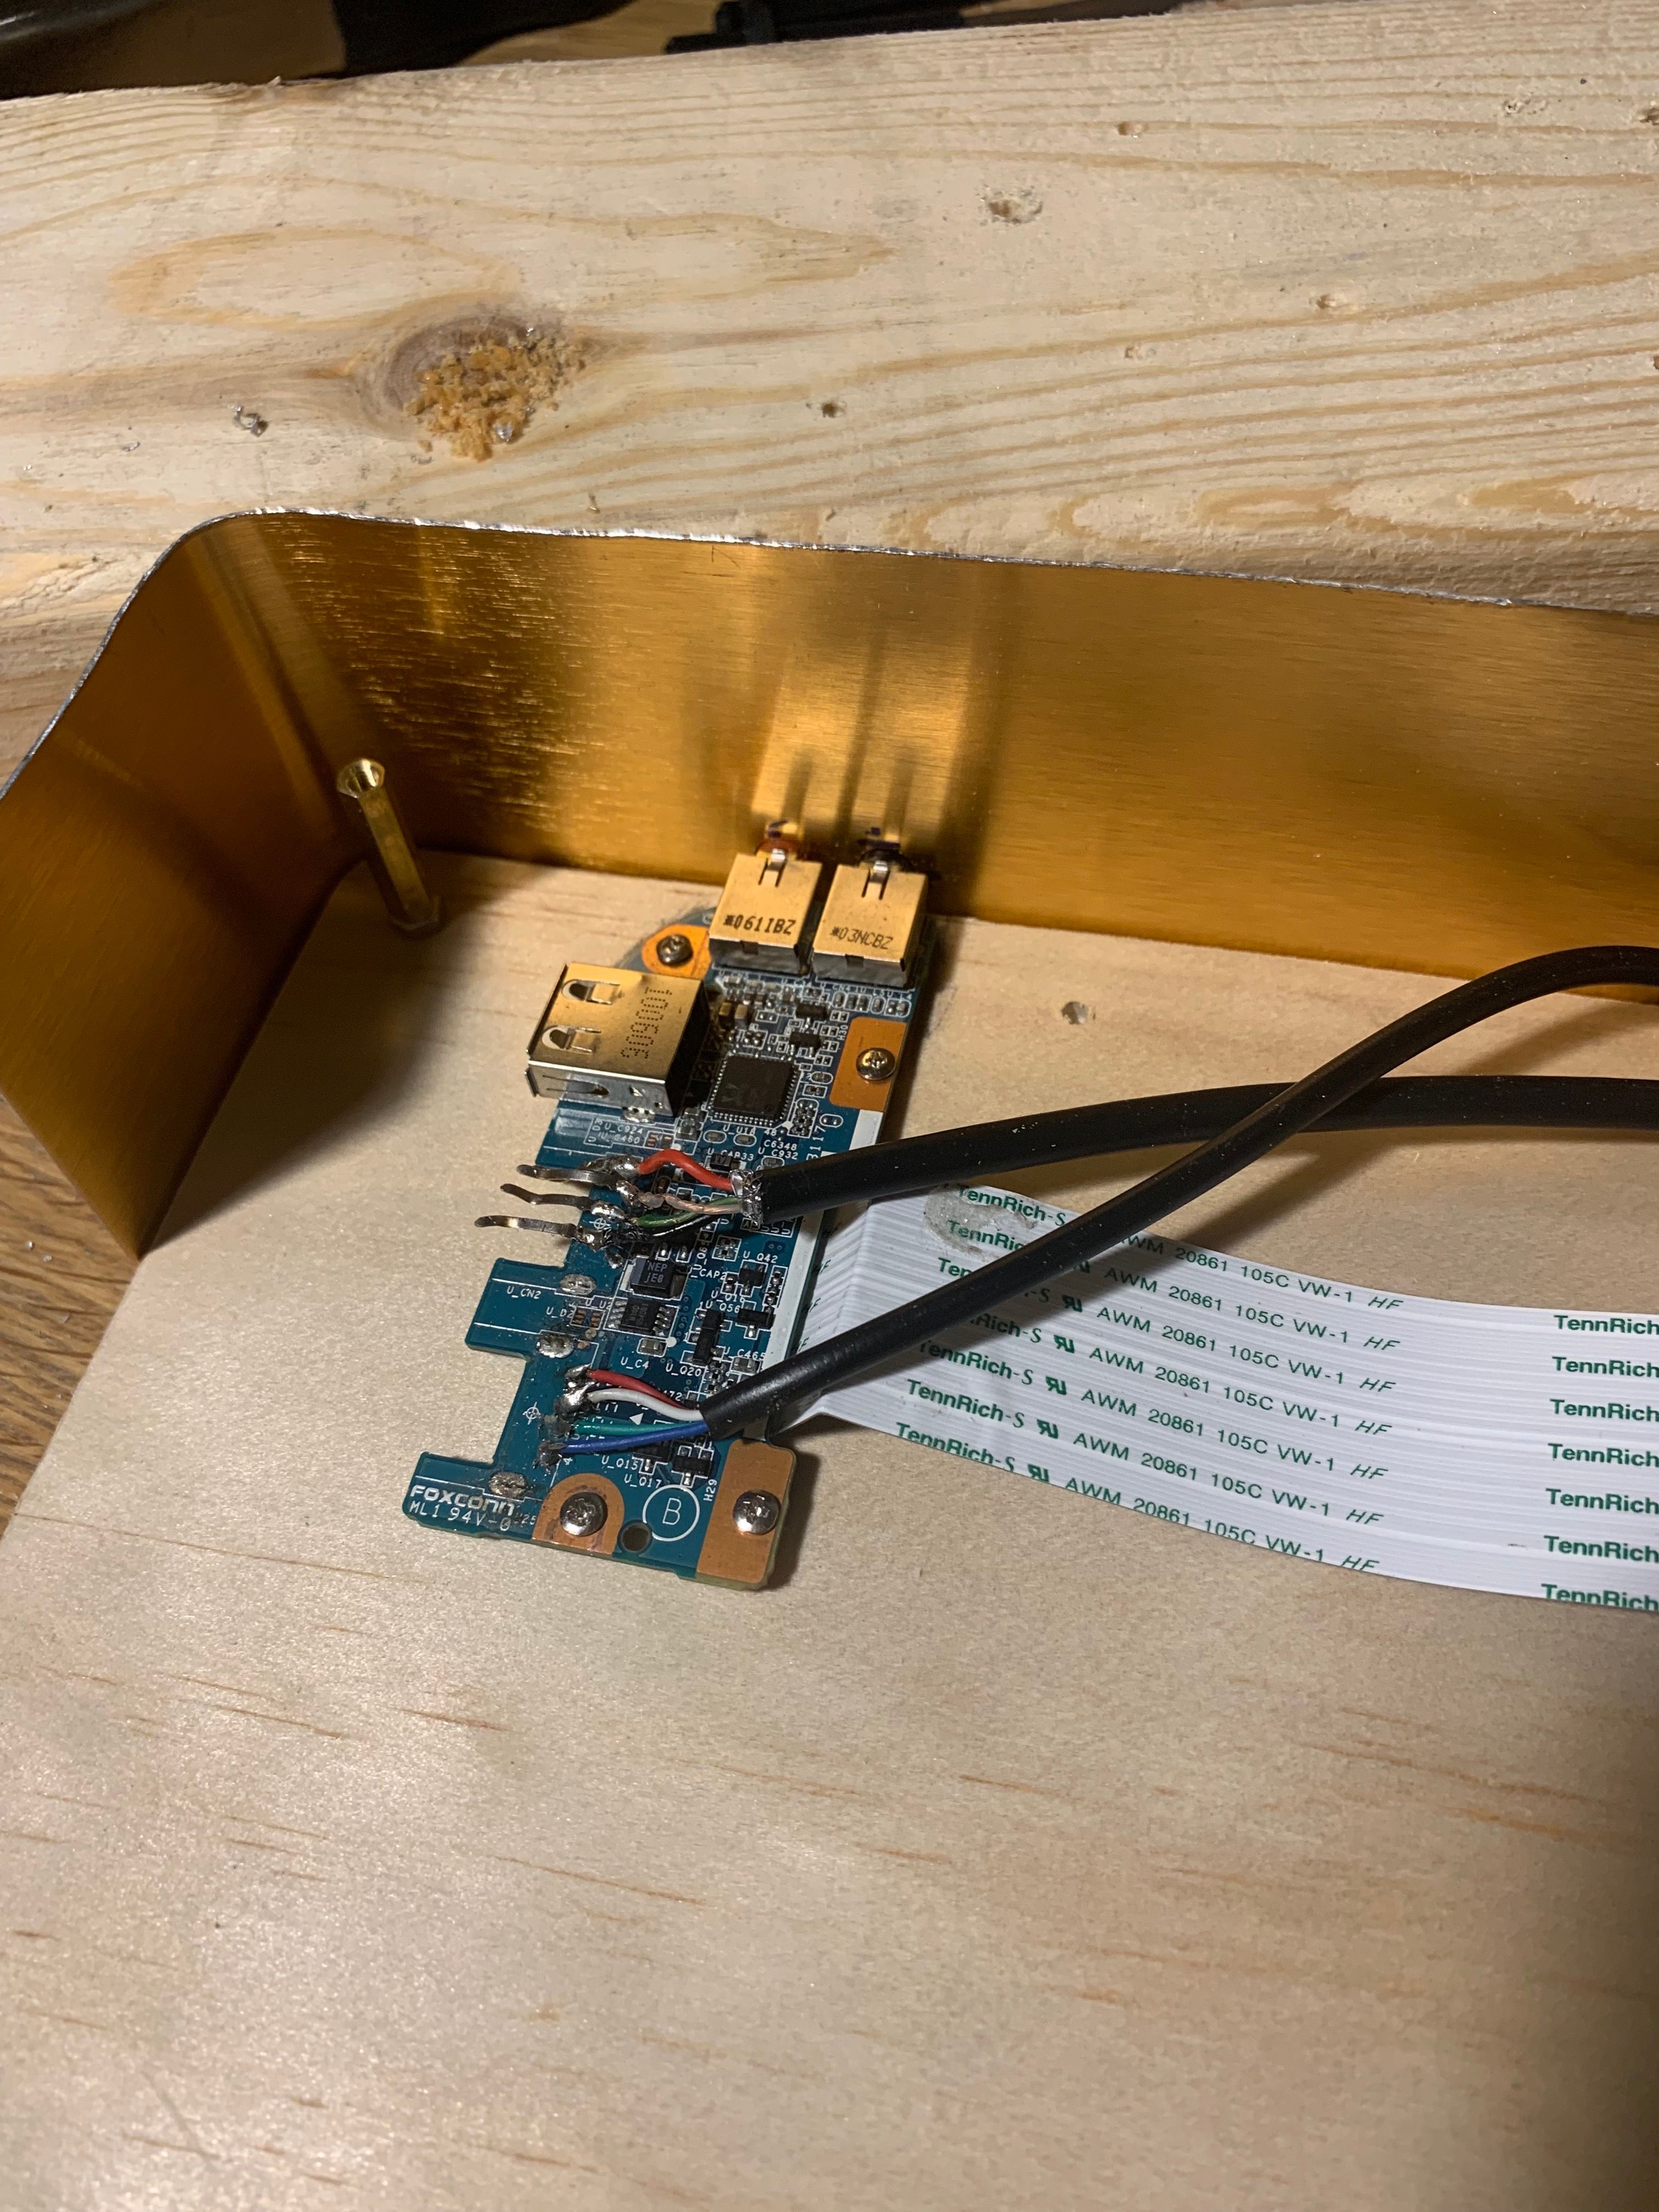
Heres the empty case with the power switch and USB boards.
The case will have 2 layers, unlike the original laptop, and the ribbon cables will be folded over.
This makes the footprint much smaller, just slightly larger than the size of the motherboard.
To mount everything, I just drilled small holes in the wood and used the original screws that were used to keep them in the laptop casing. Some PCB pillars were used to raise the motherboard up.
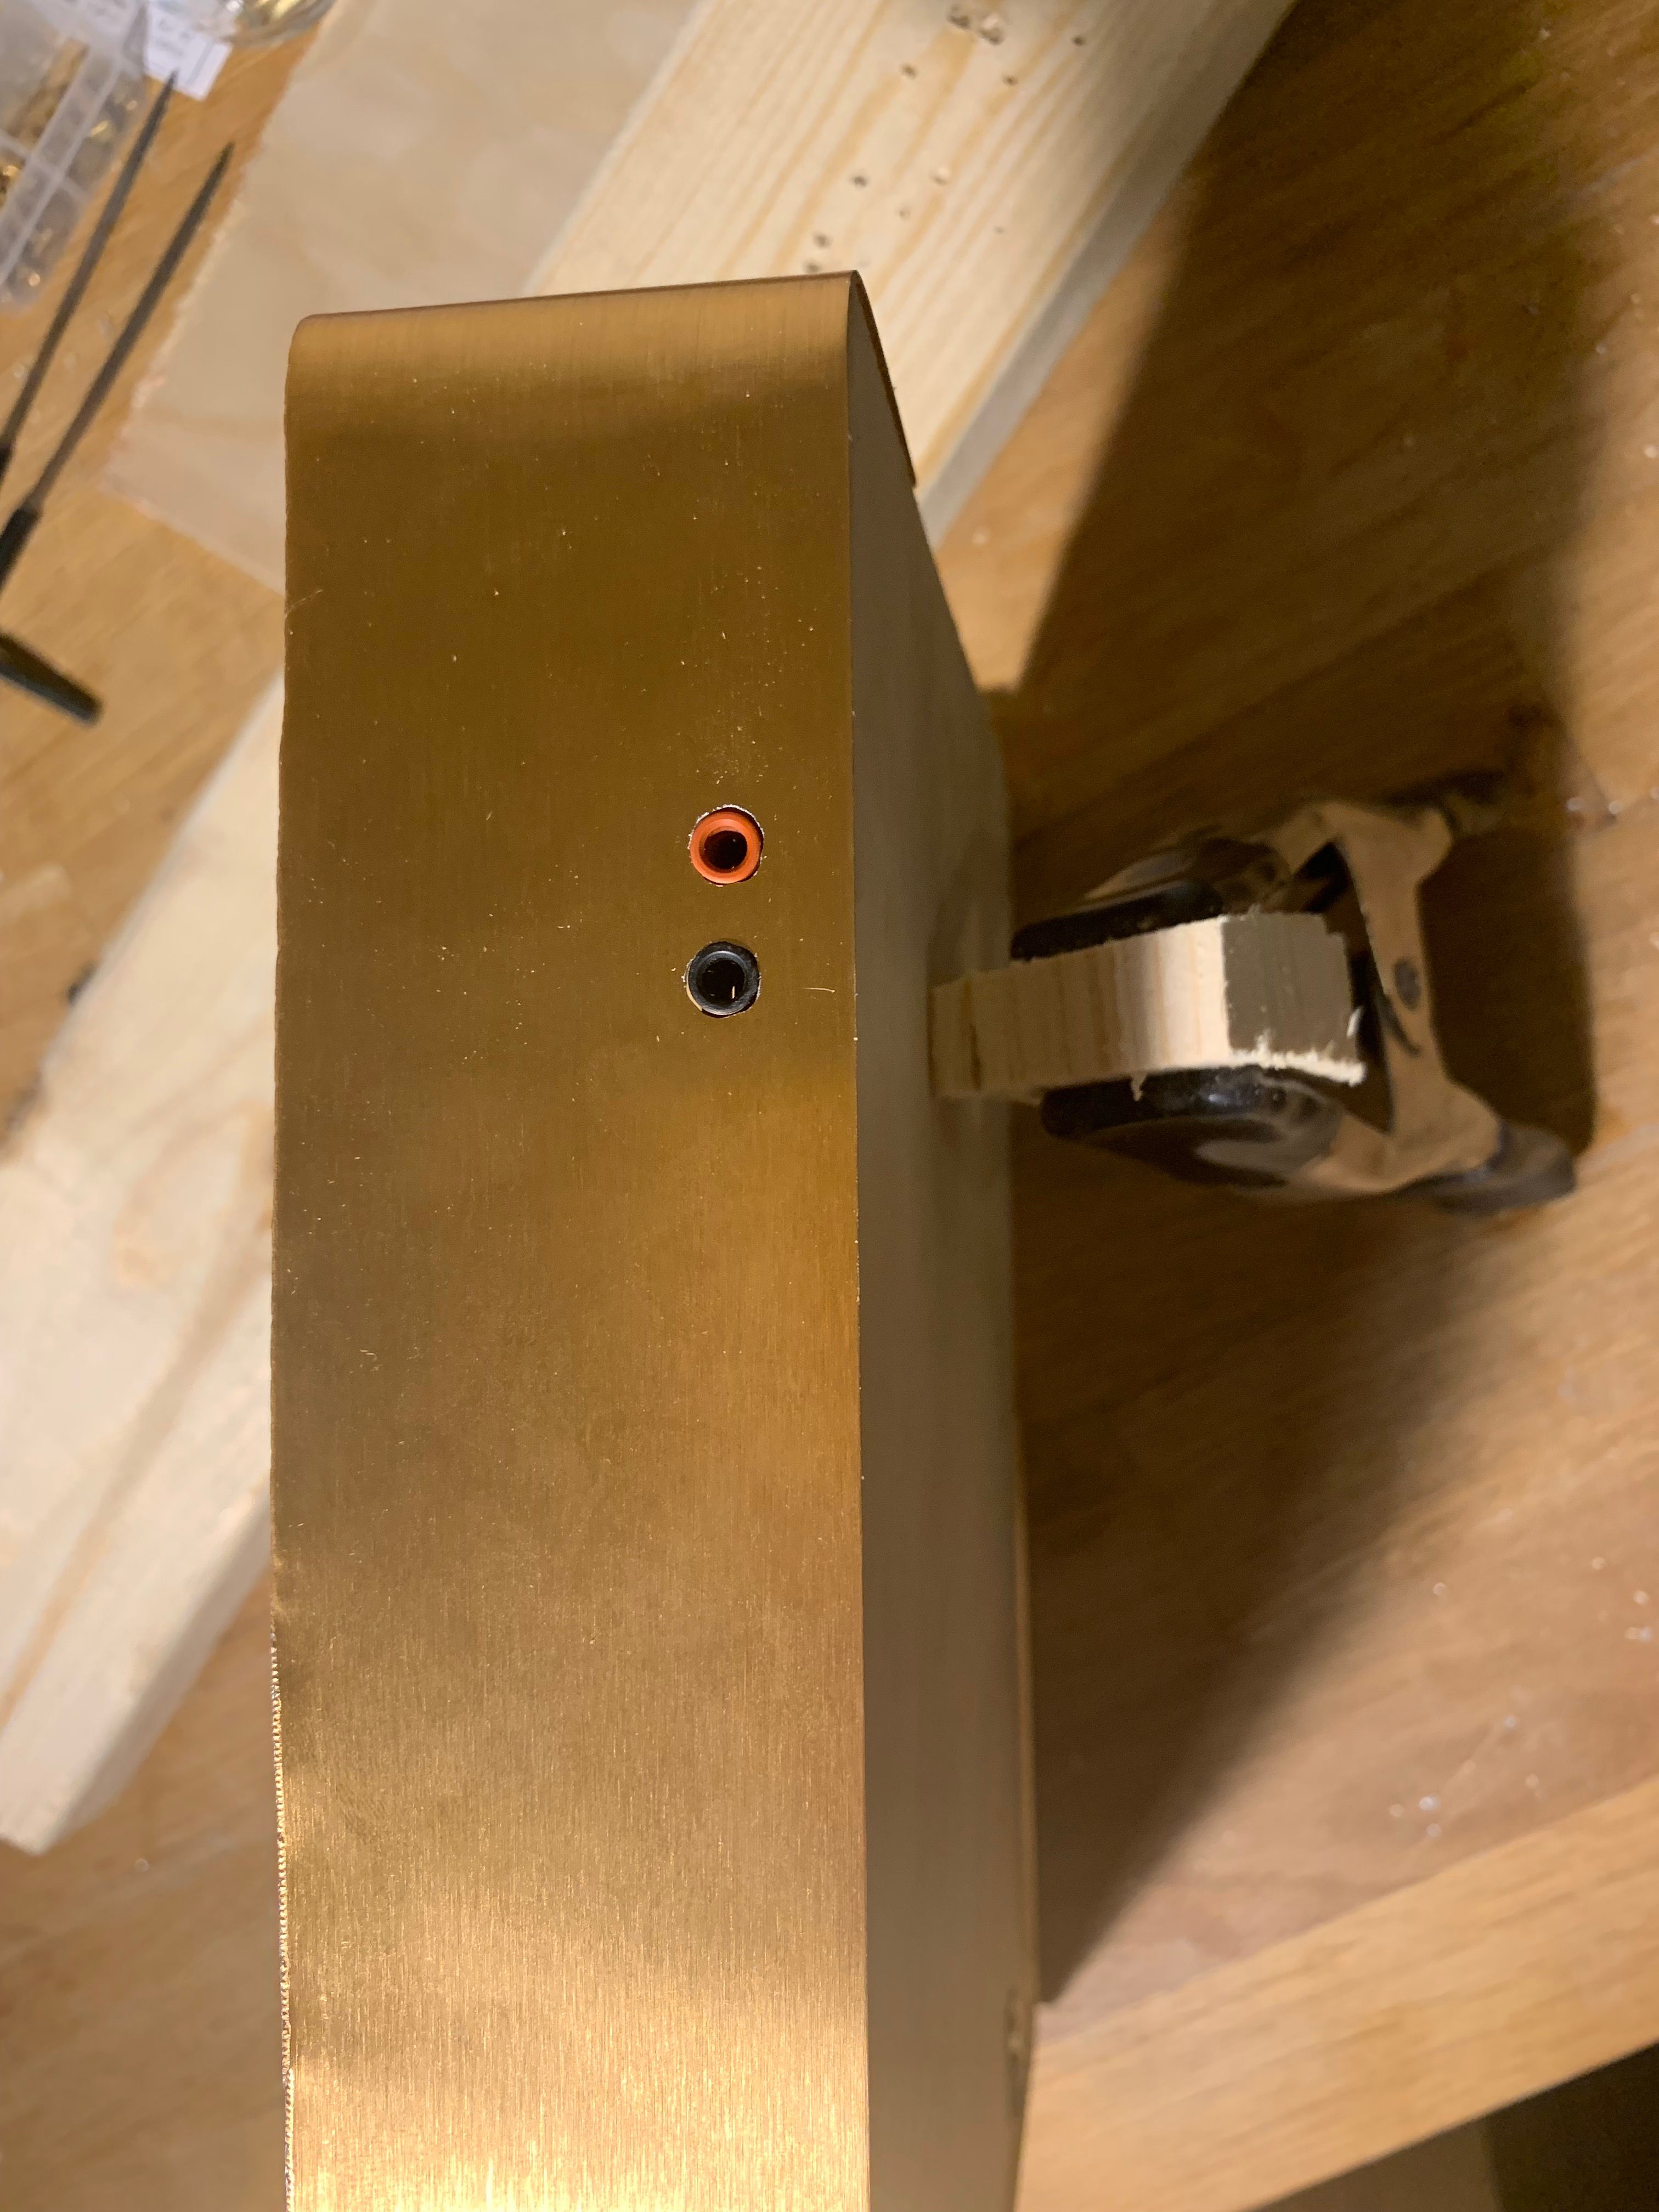
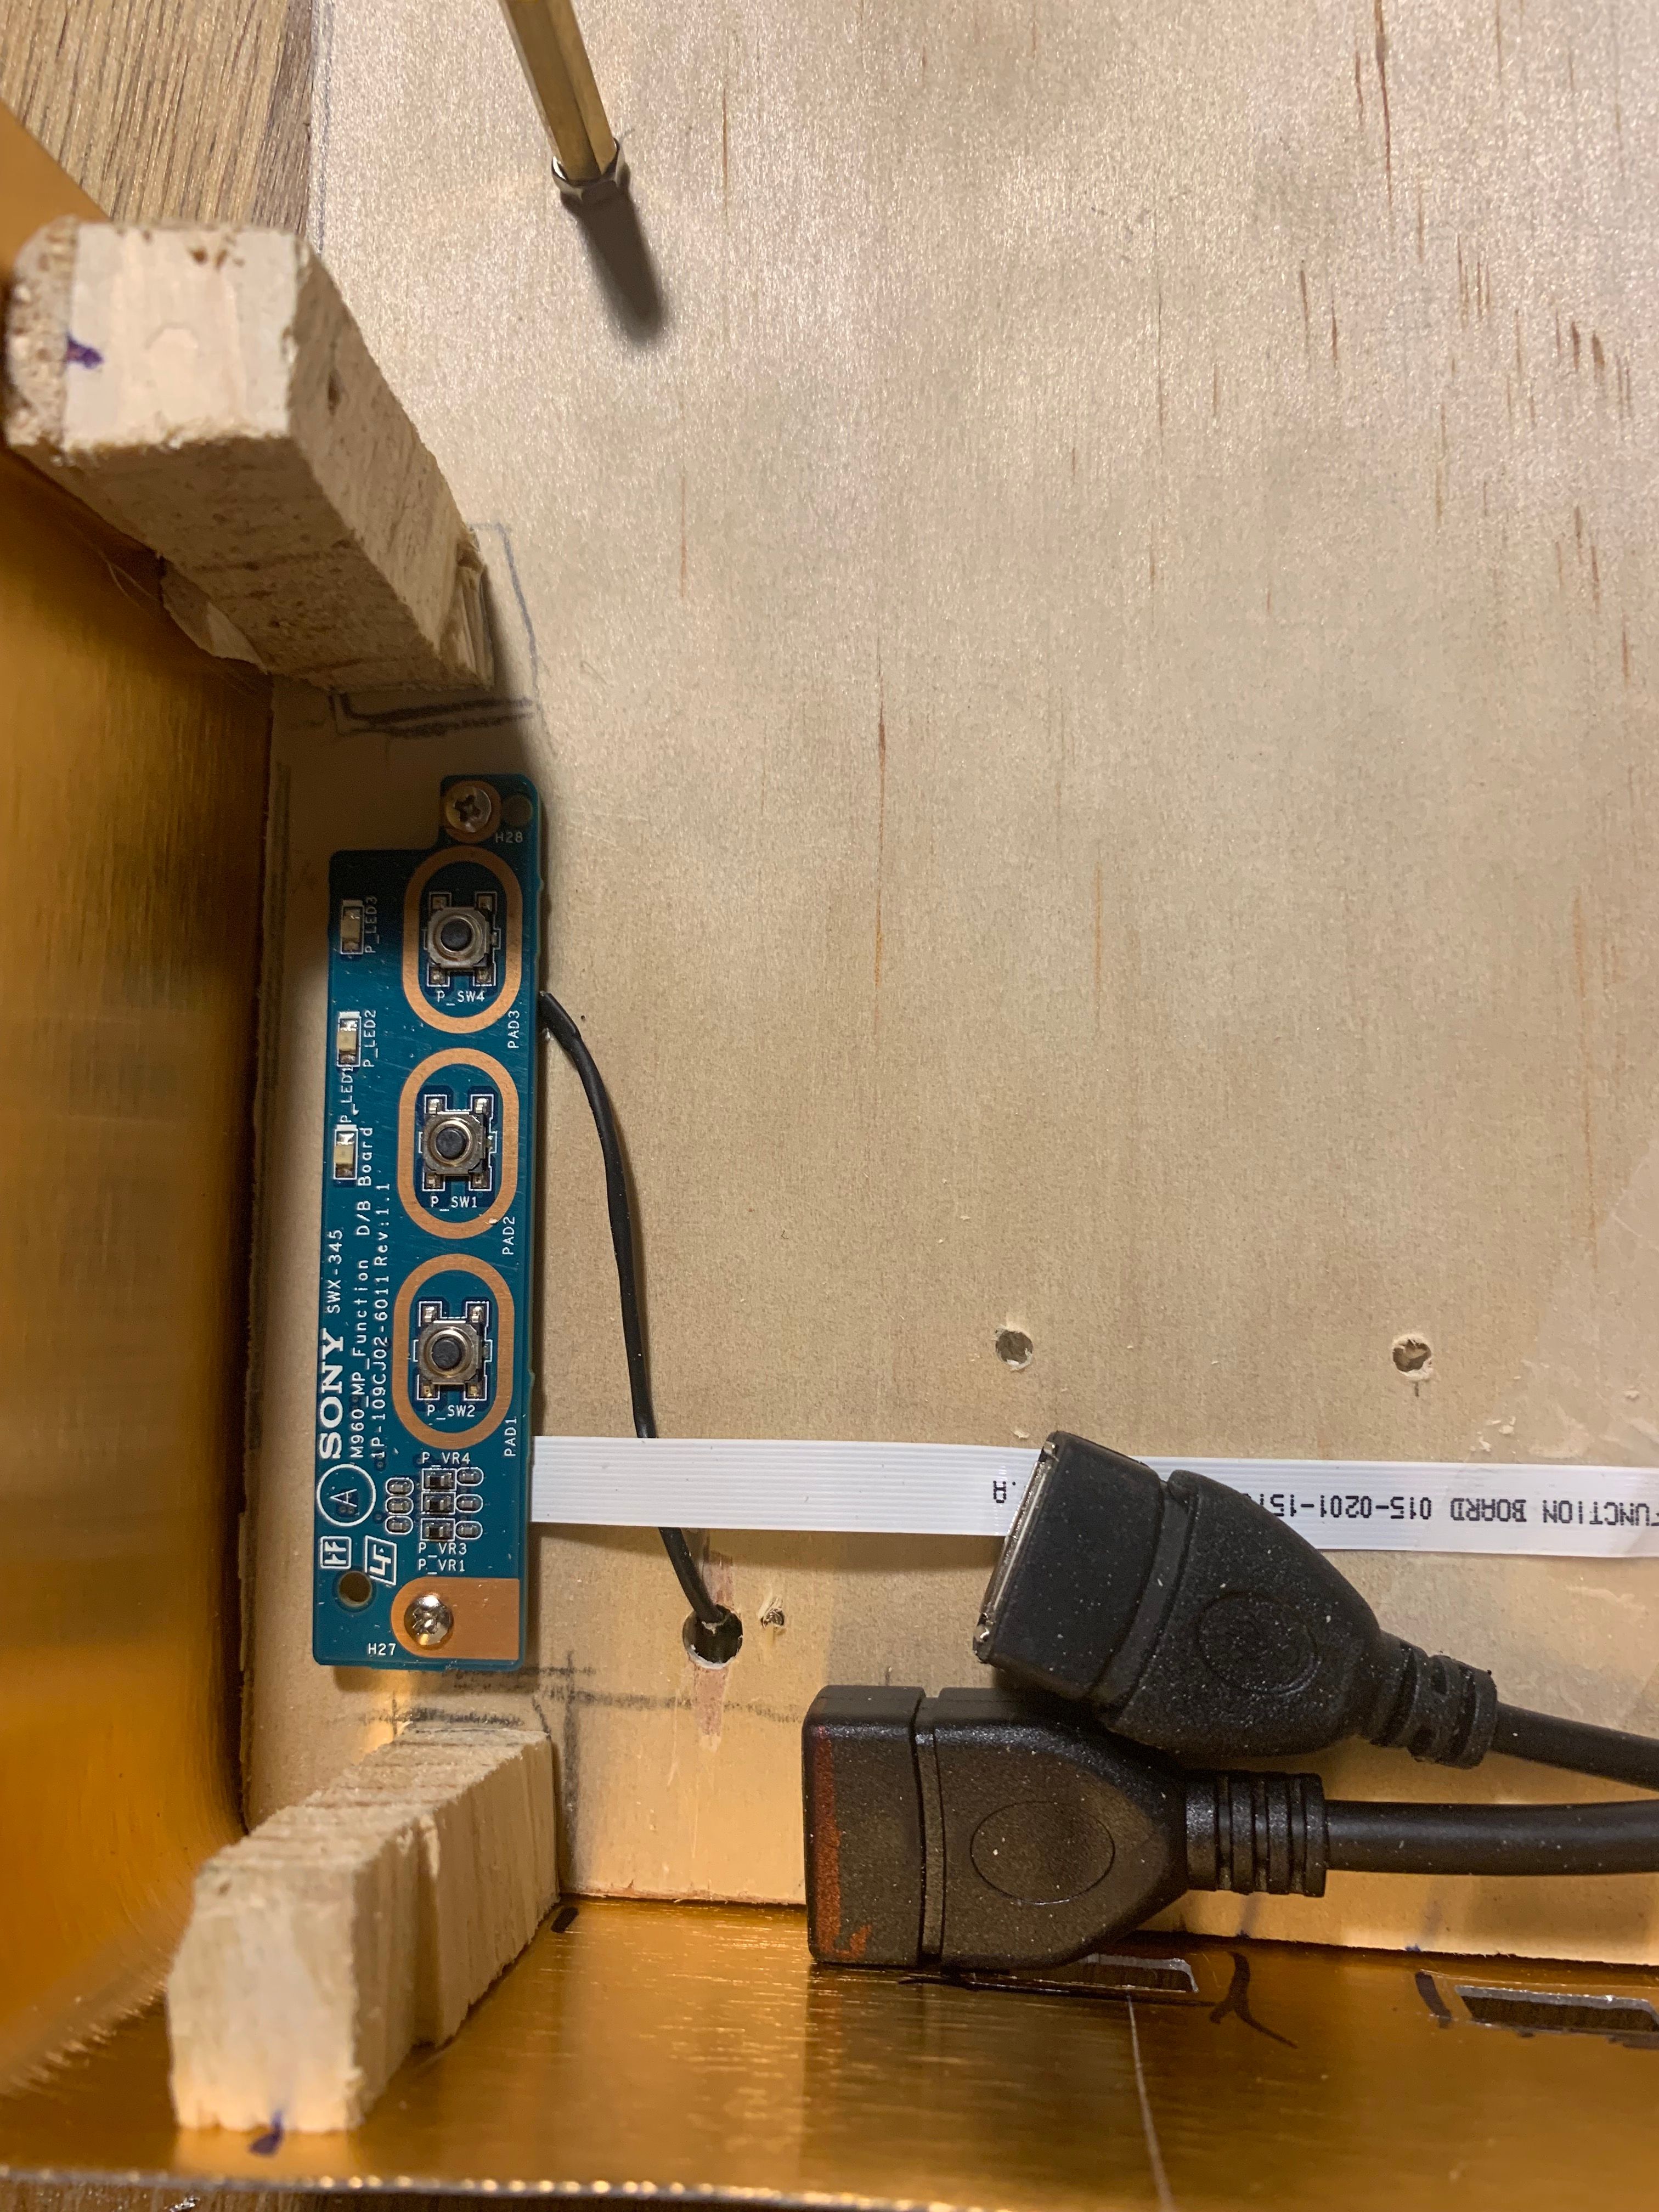
For the USB board - you can see how the audio jacks poke through like in the laptop.
I also soldered some usb extensions since the original port connections were bent and broken, this also gets them to the front.
 |  |
|---|
I routed the small power switch through a hole to the outside:
 |  |
|---|
The placement of these parts was important, the cables connect to the motherboard in specific spots. I used a SATA extender for the hard drive and glued it in place, as well as mounted the antennas where they fit, and set the power connector..
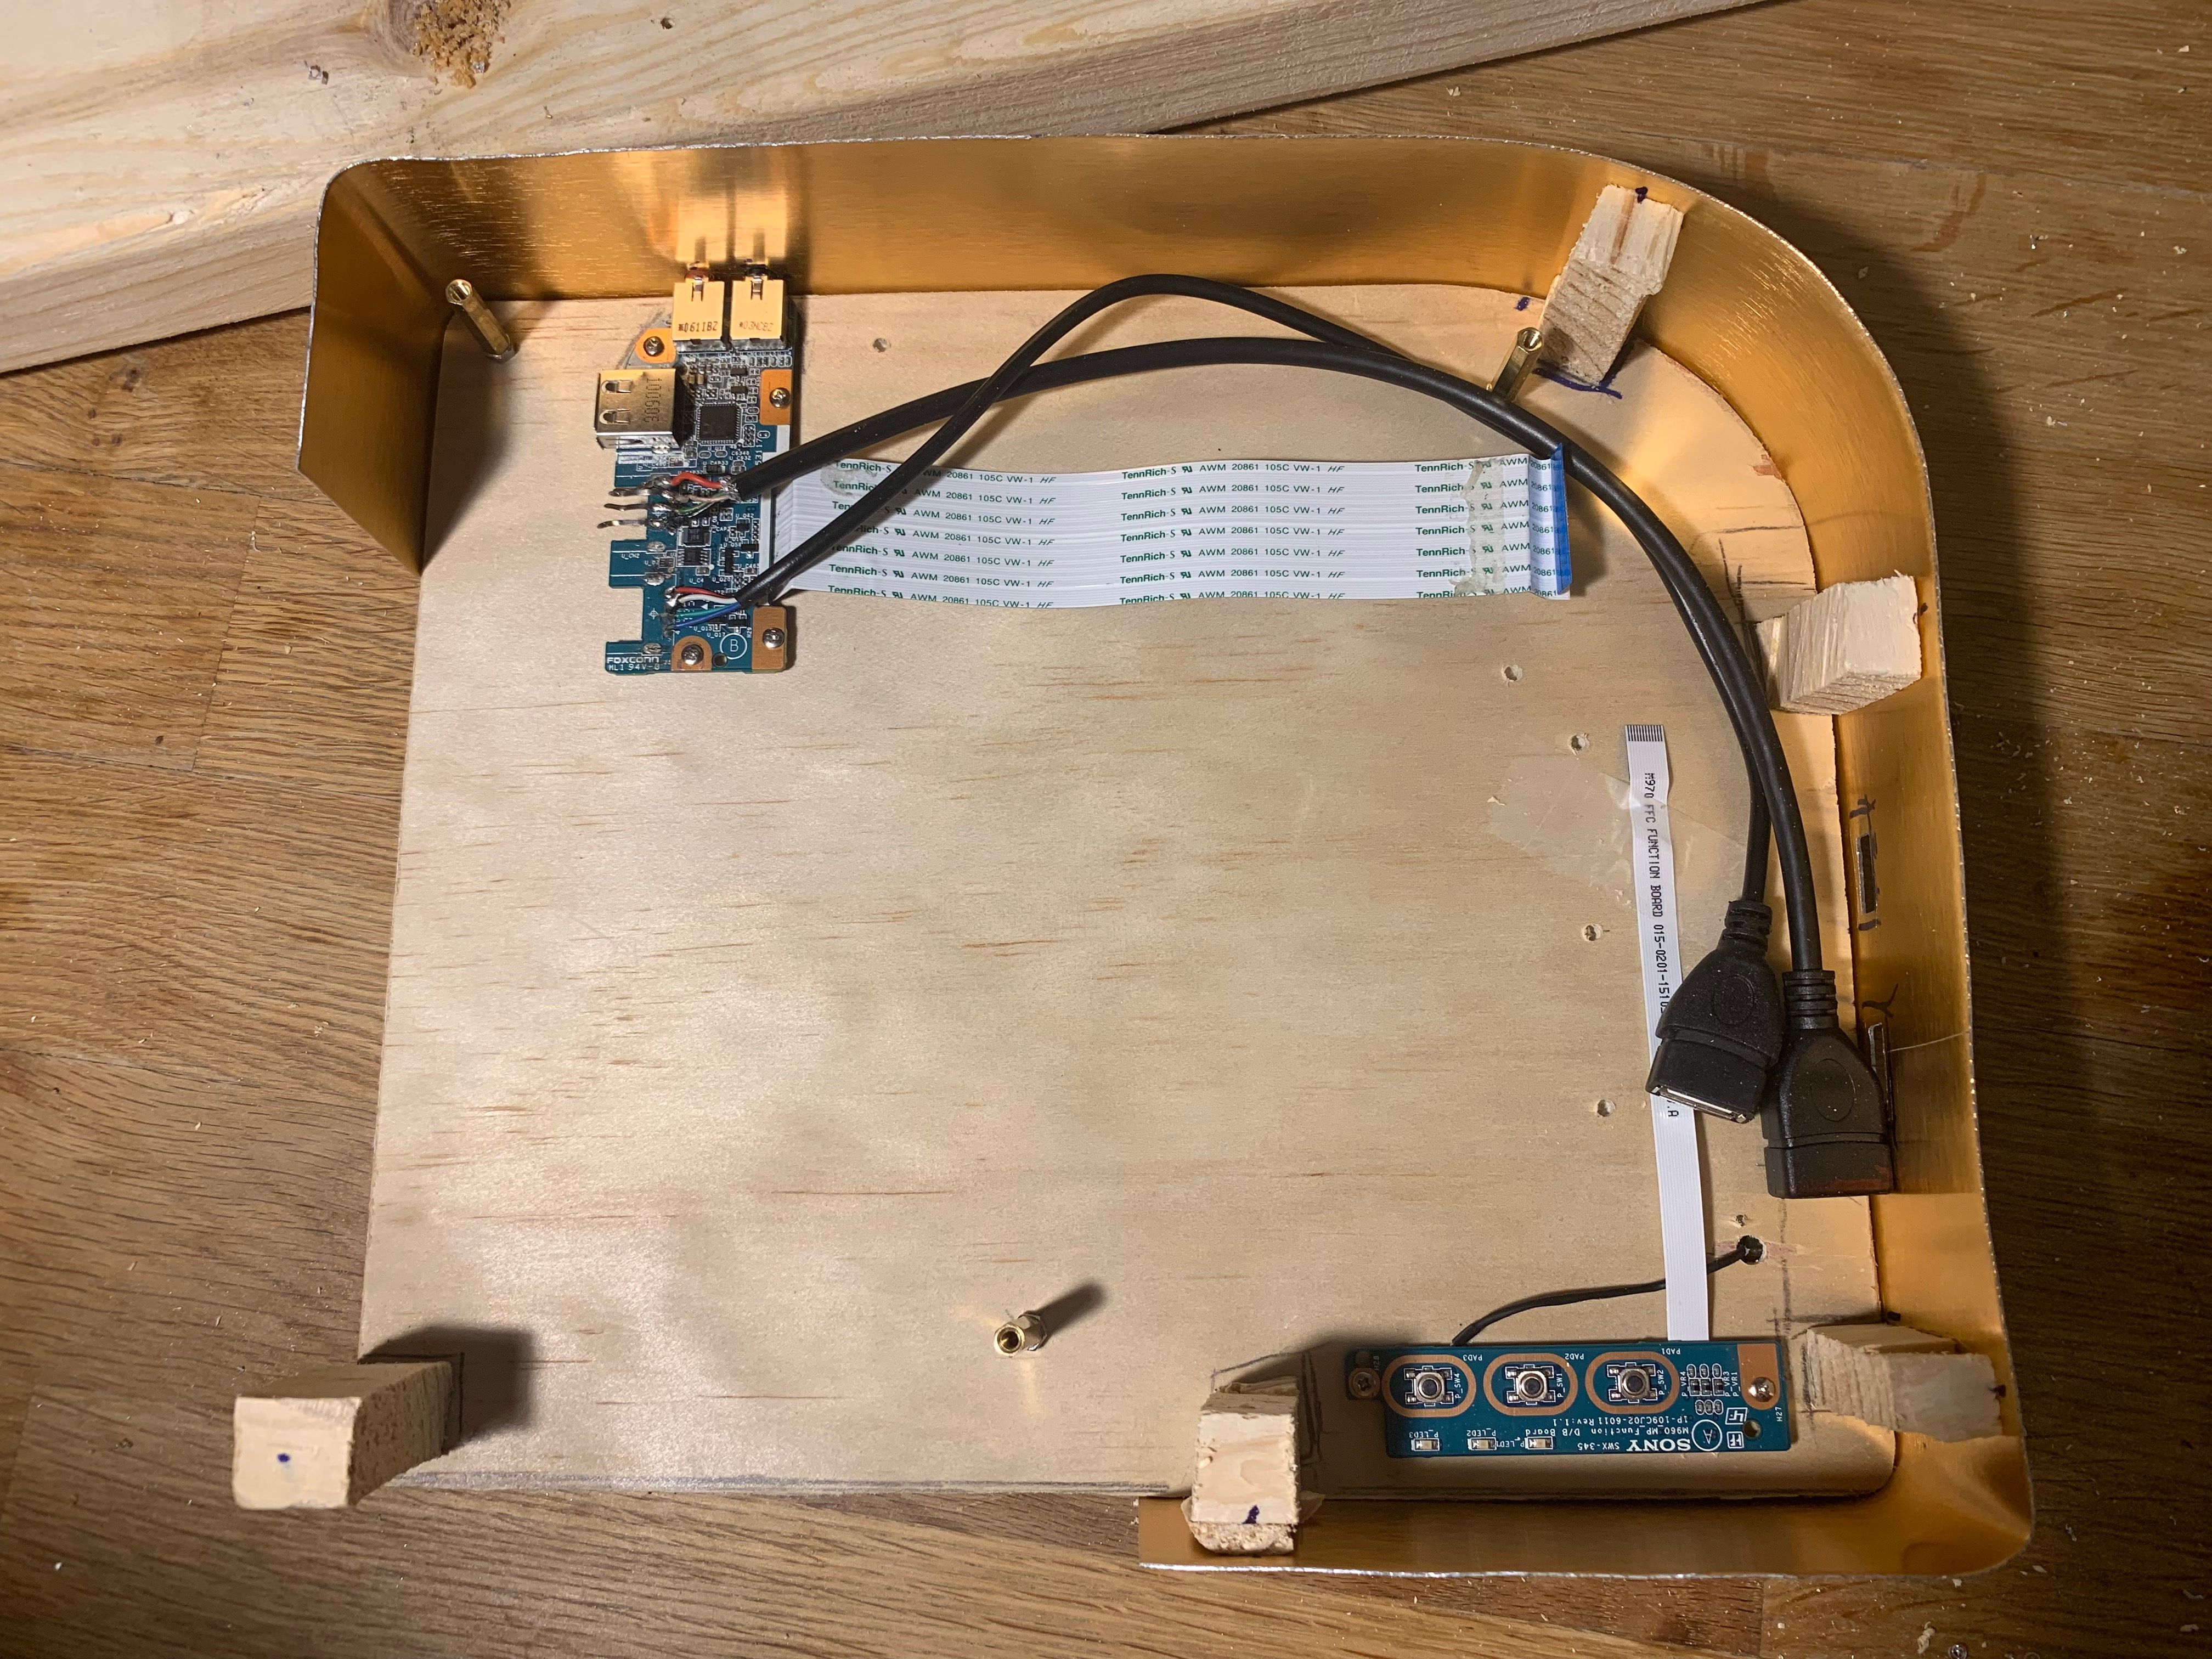
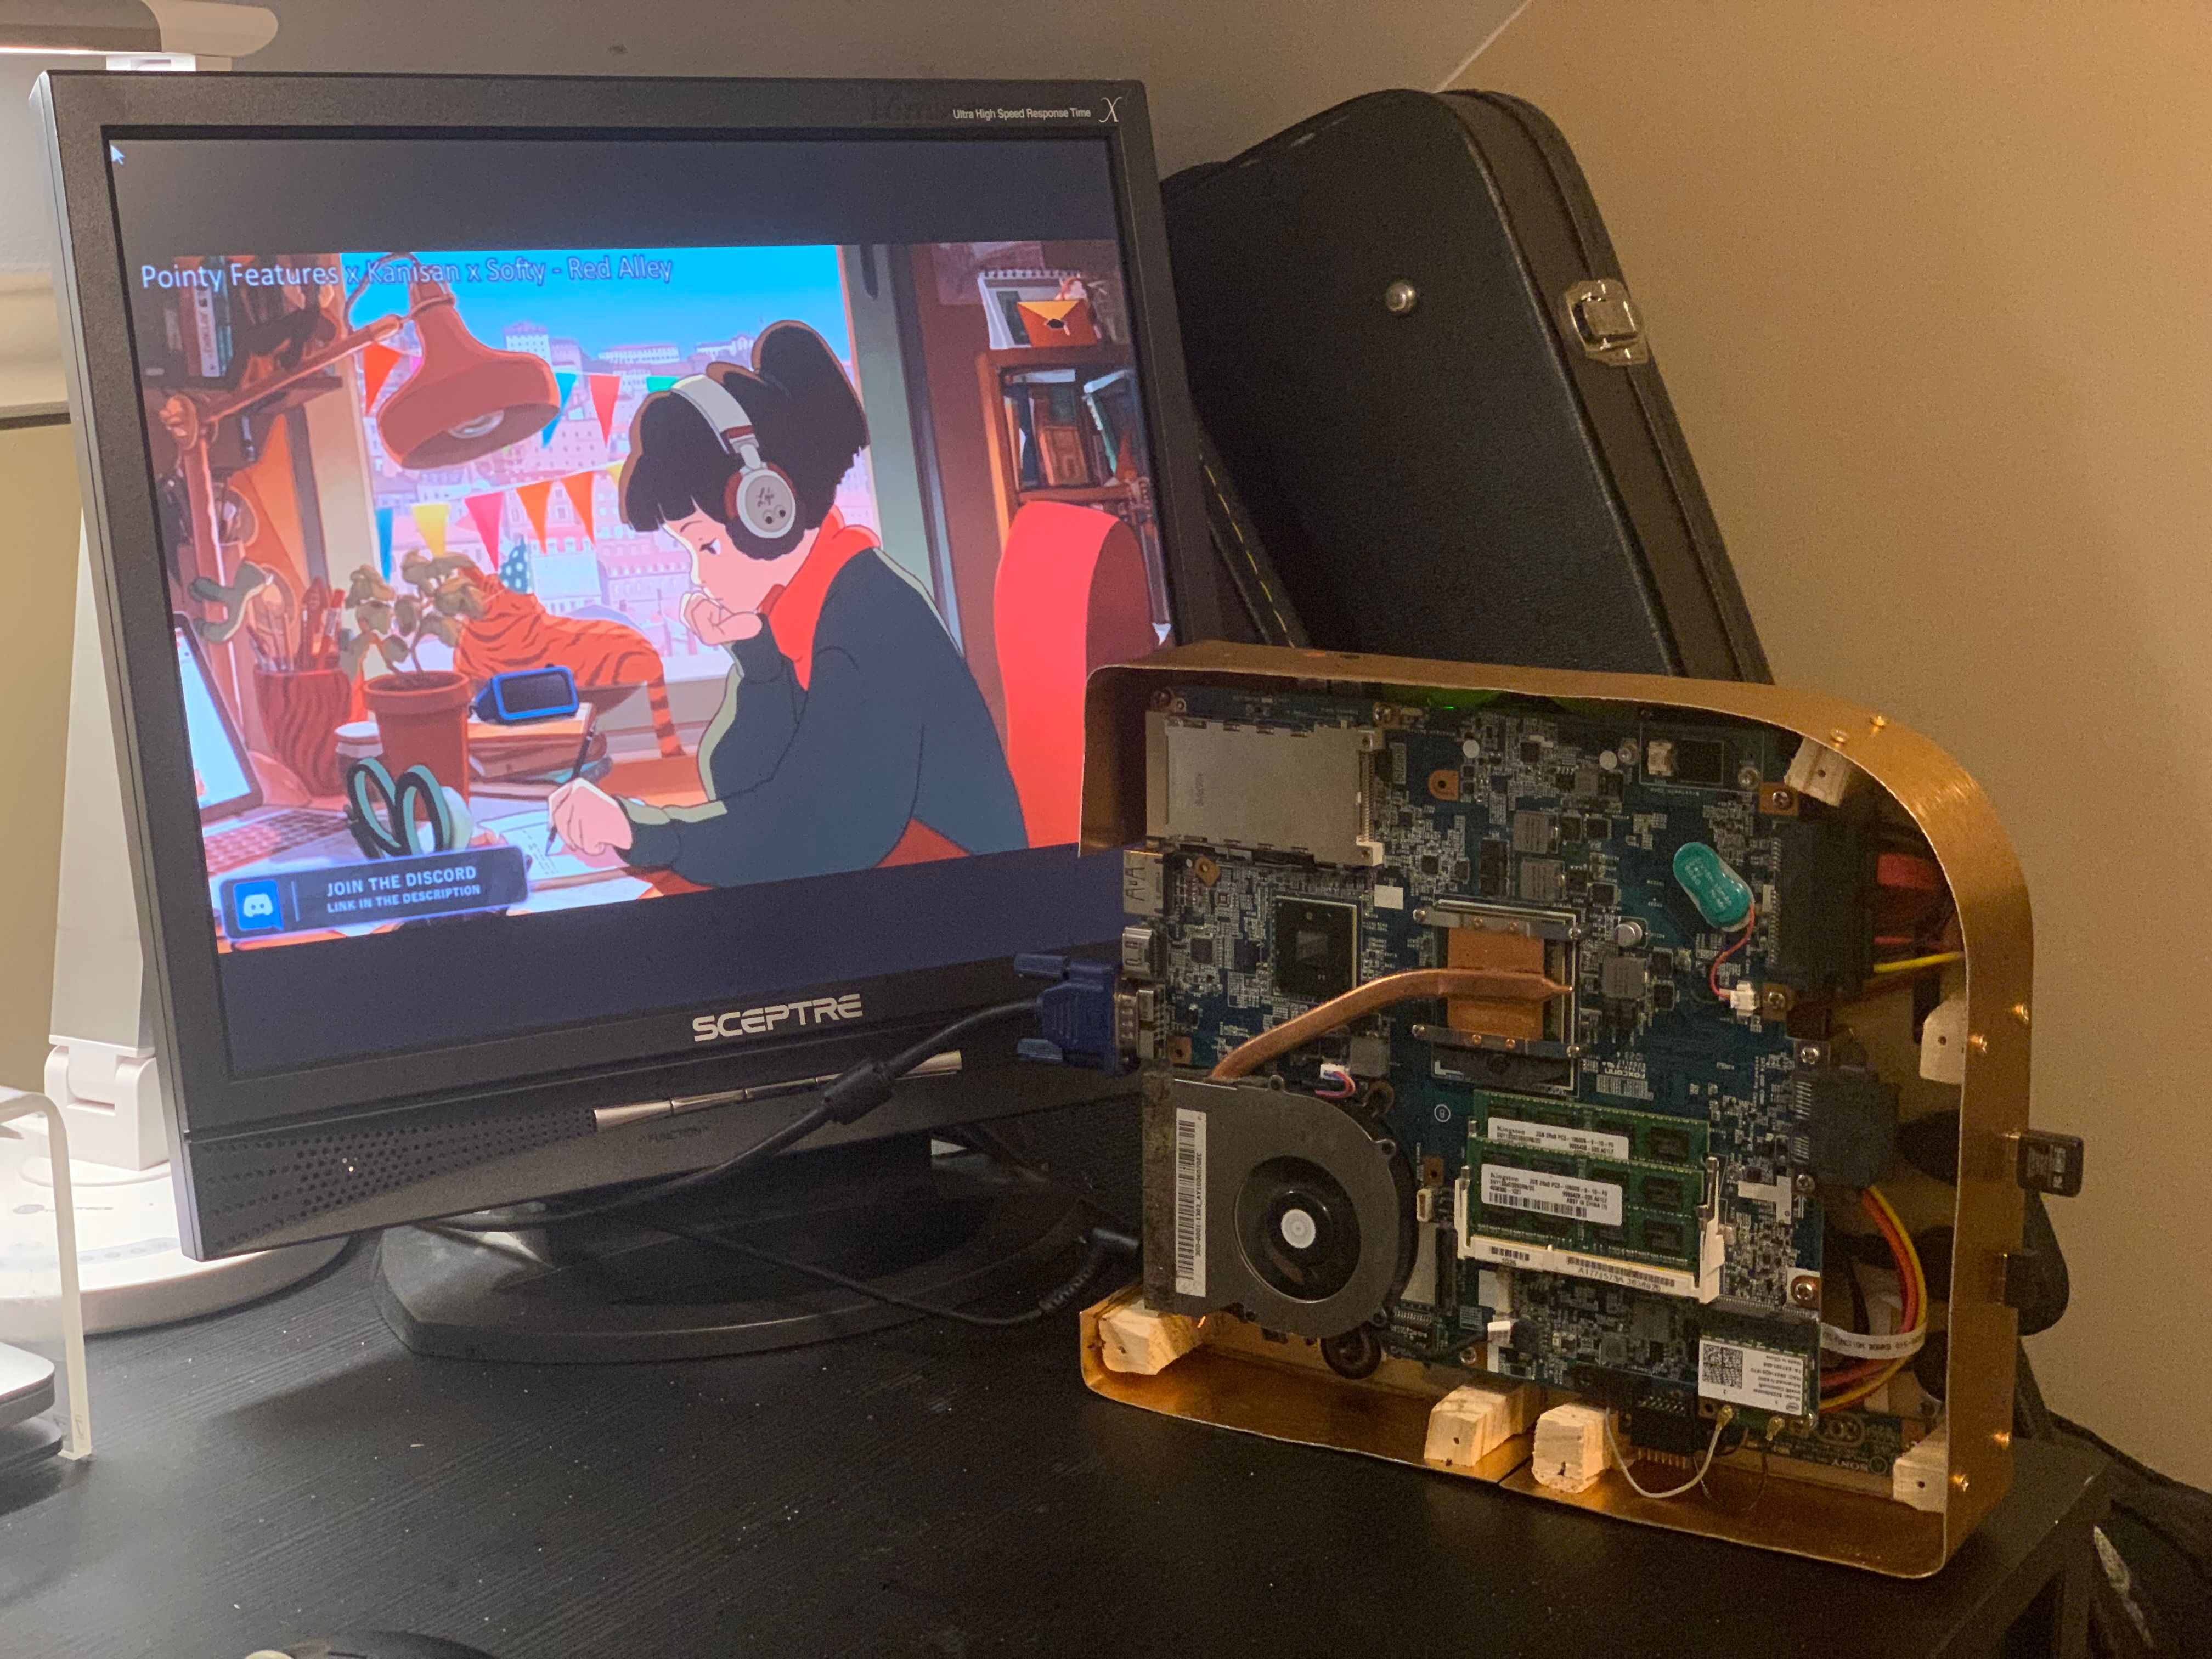
The final hookups look like this:
The final build product out tidy, and works well as a simple server. The old laptop is plenty powerful enough for basic web stuff, and has a low power draw thanks to being a laptop.
After adding back the speakers, It can even play lofi beats to relax/study to.
Hopefully instead of throwing away old electronics, you might be inspired to try something fun with them.
🤖